Summer Art_STOP MOTION ANIMATION
Hi Hello Welcome back! Things have been super crazy these past few weeks with our summer program ending and our fall semester beginning. I can’t thank you guys enough for the best summer semester we have had so far. I want to quickly run you through what the kids did the last week of summer and then introduce you to the first few weeks of fall!
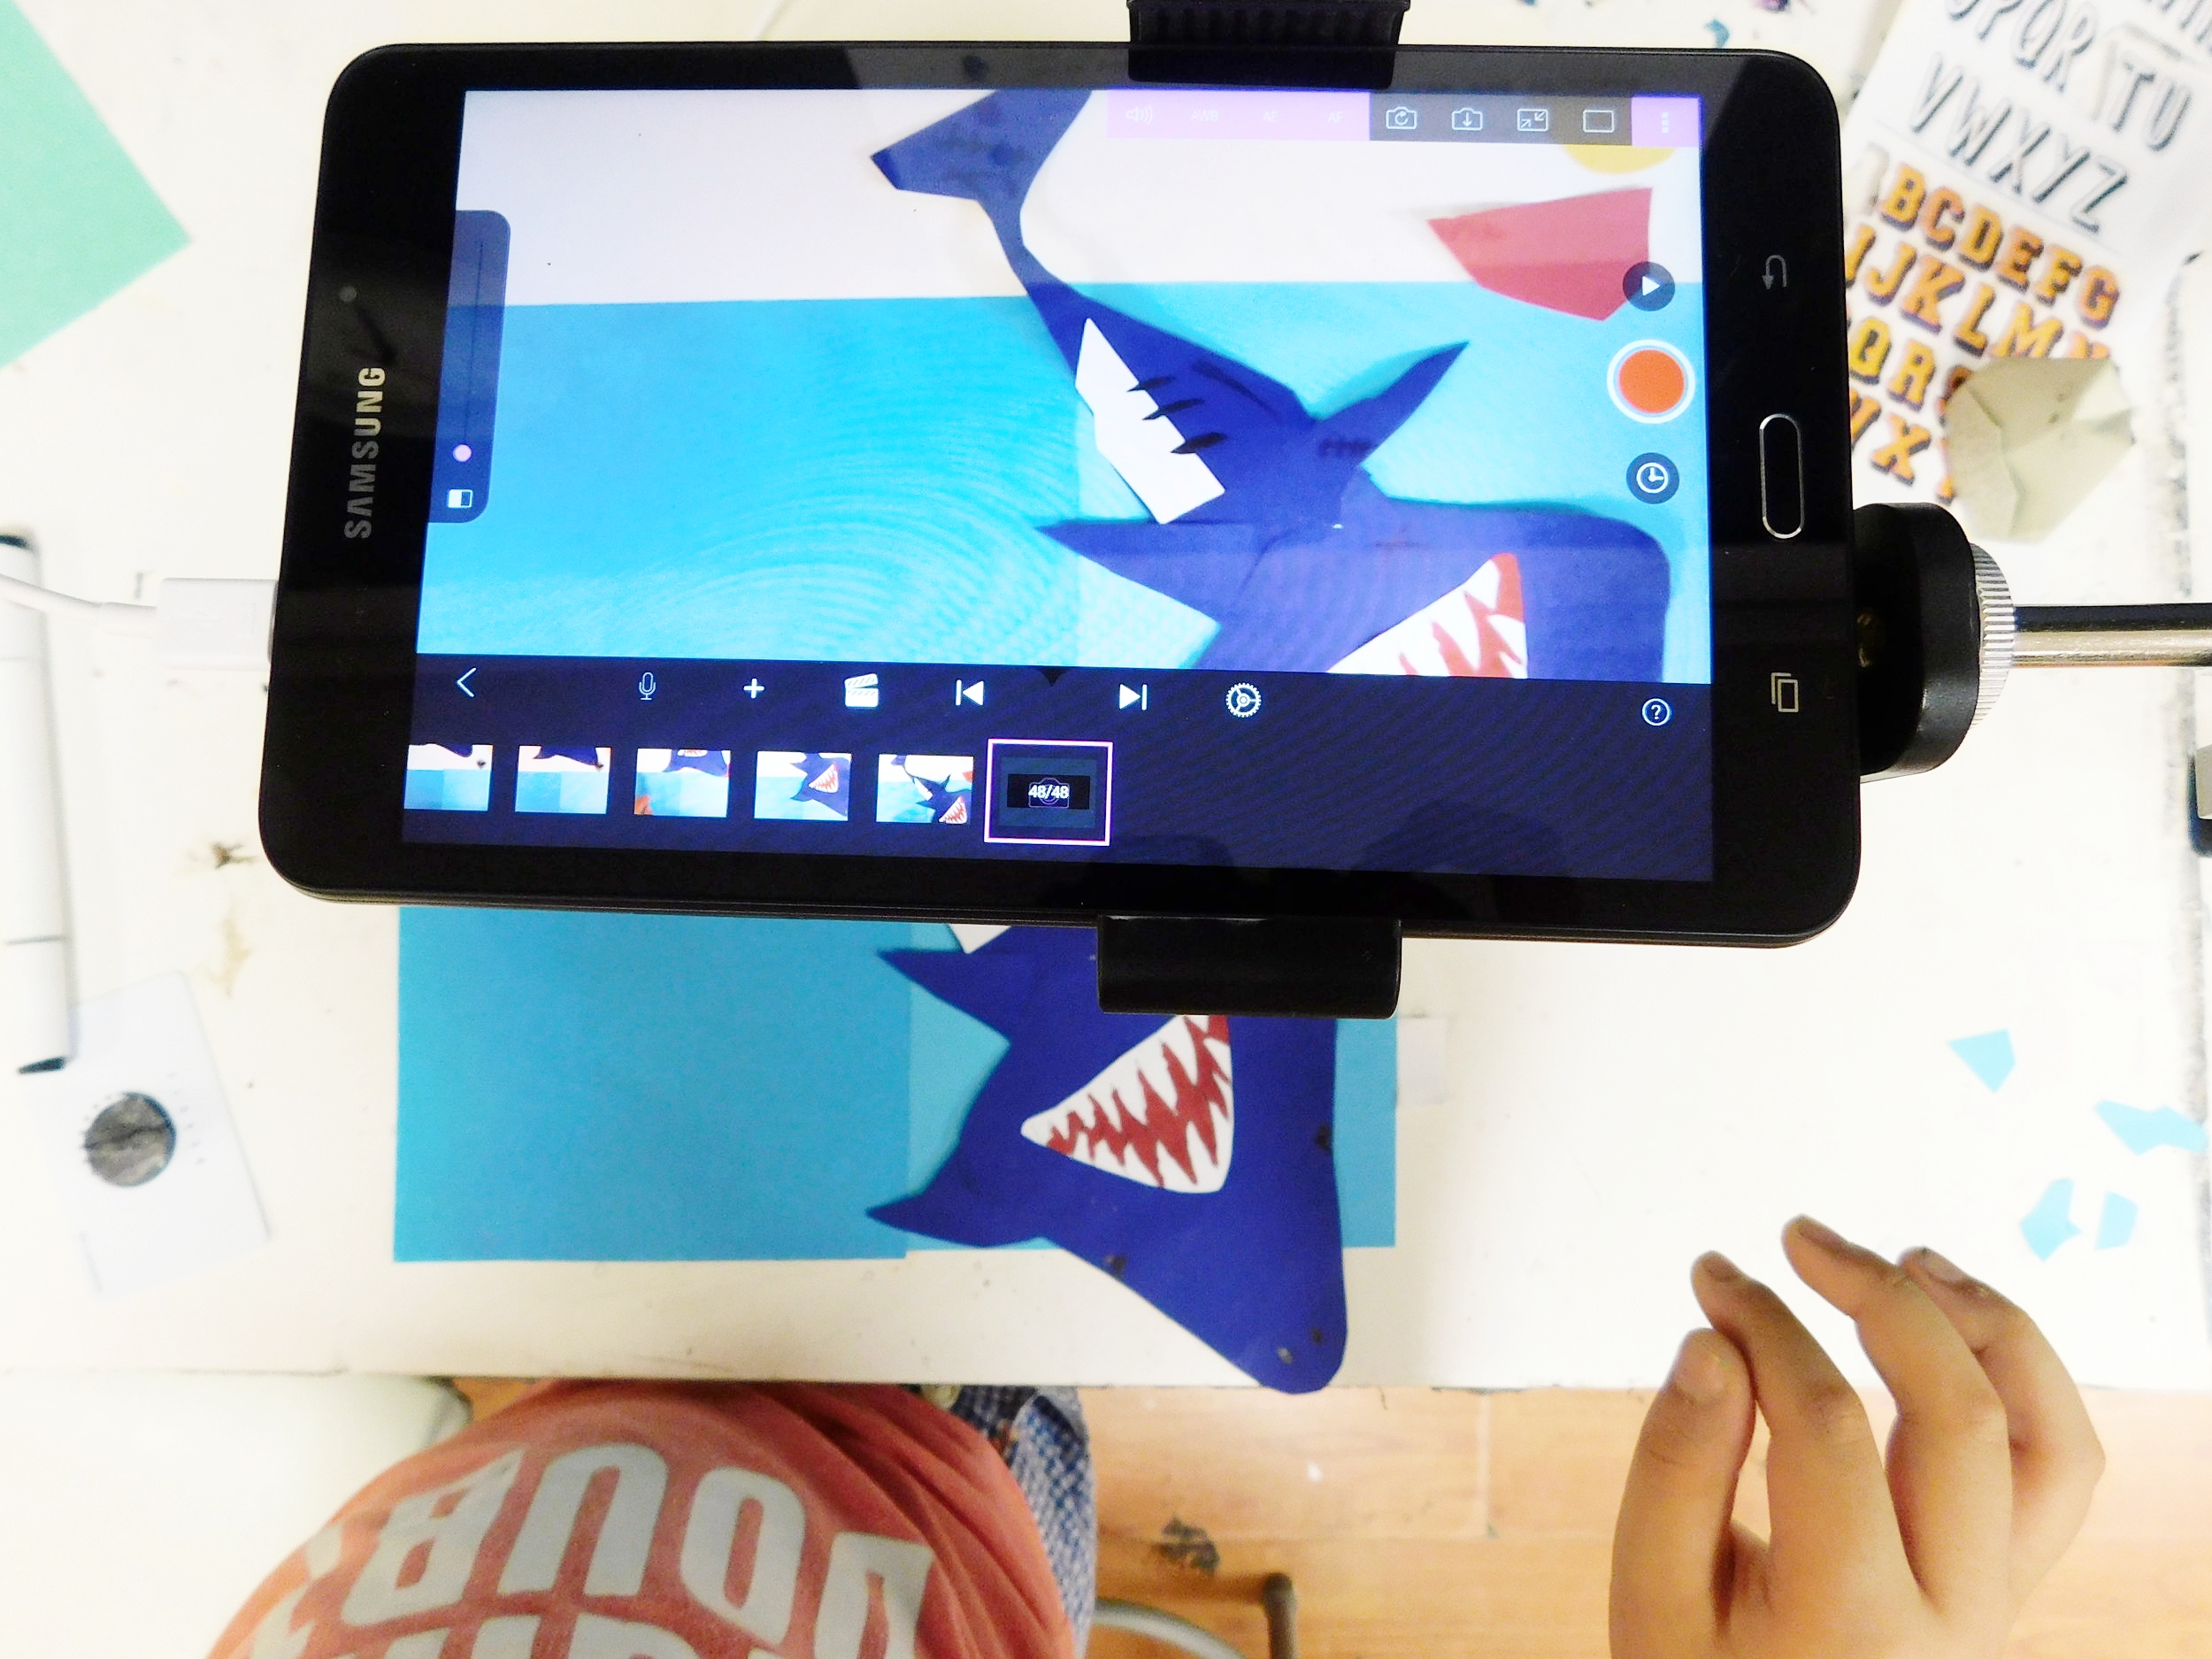
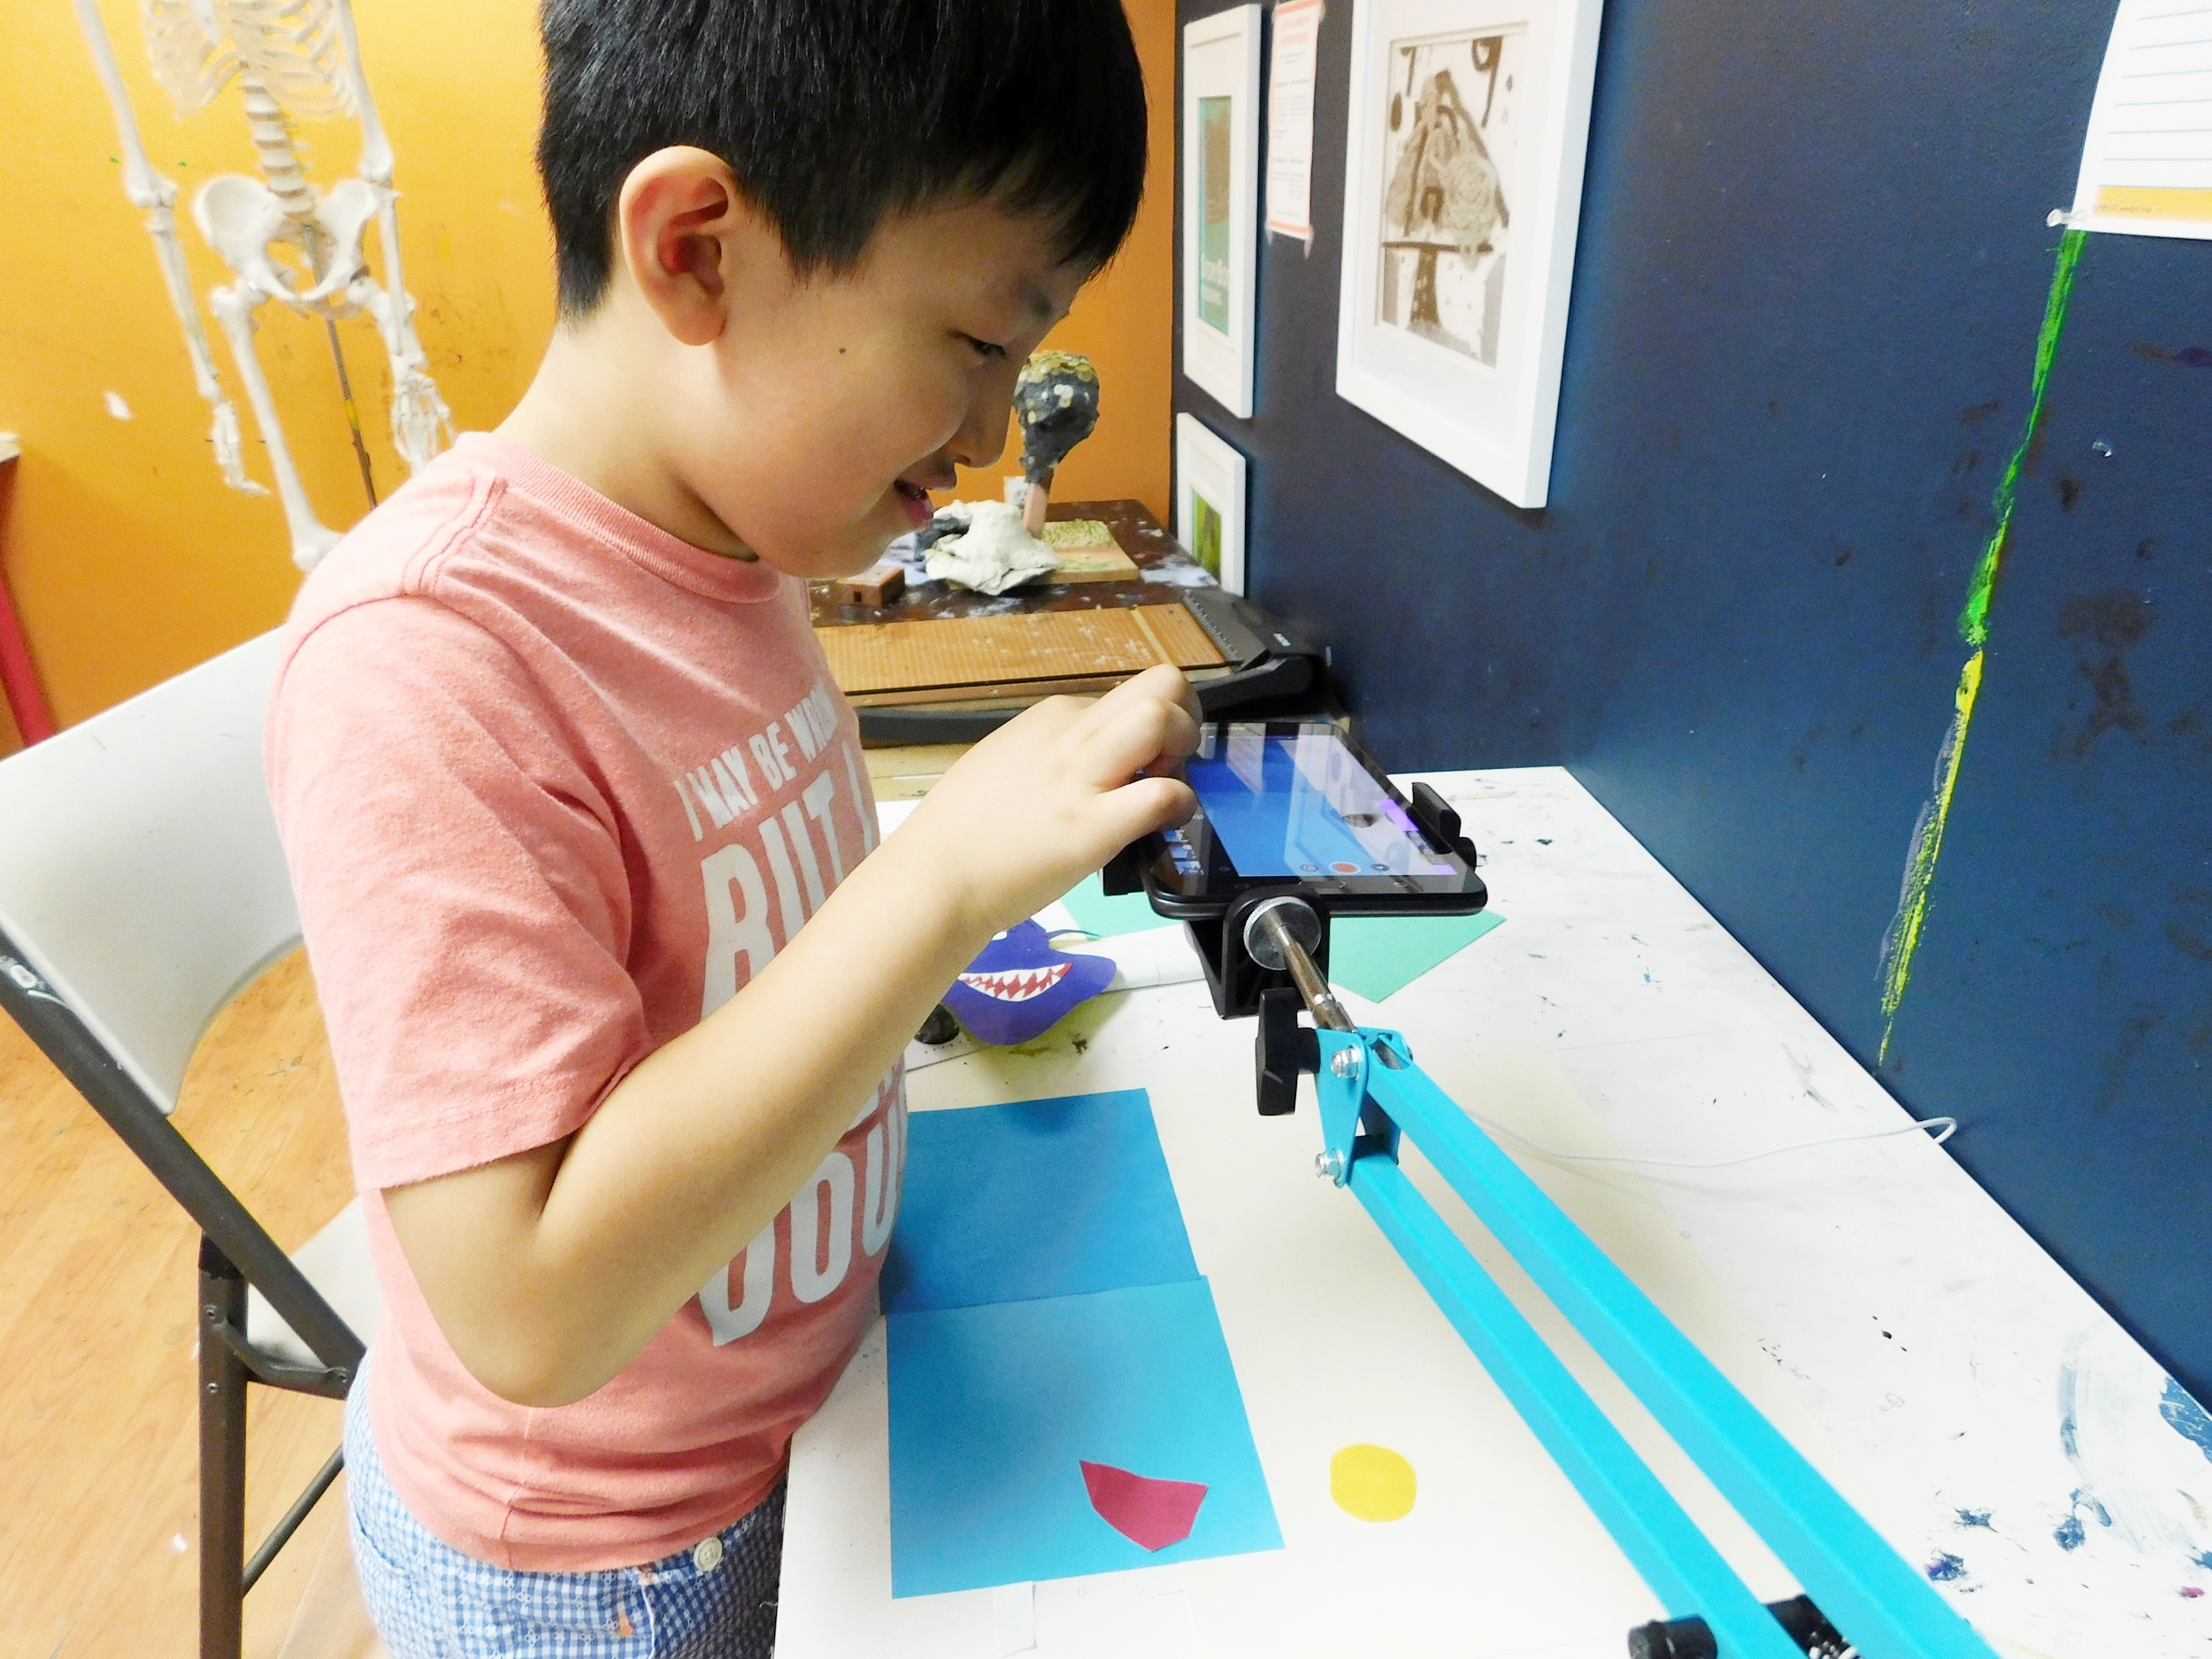
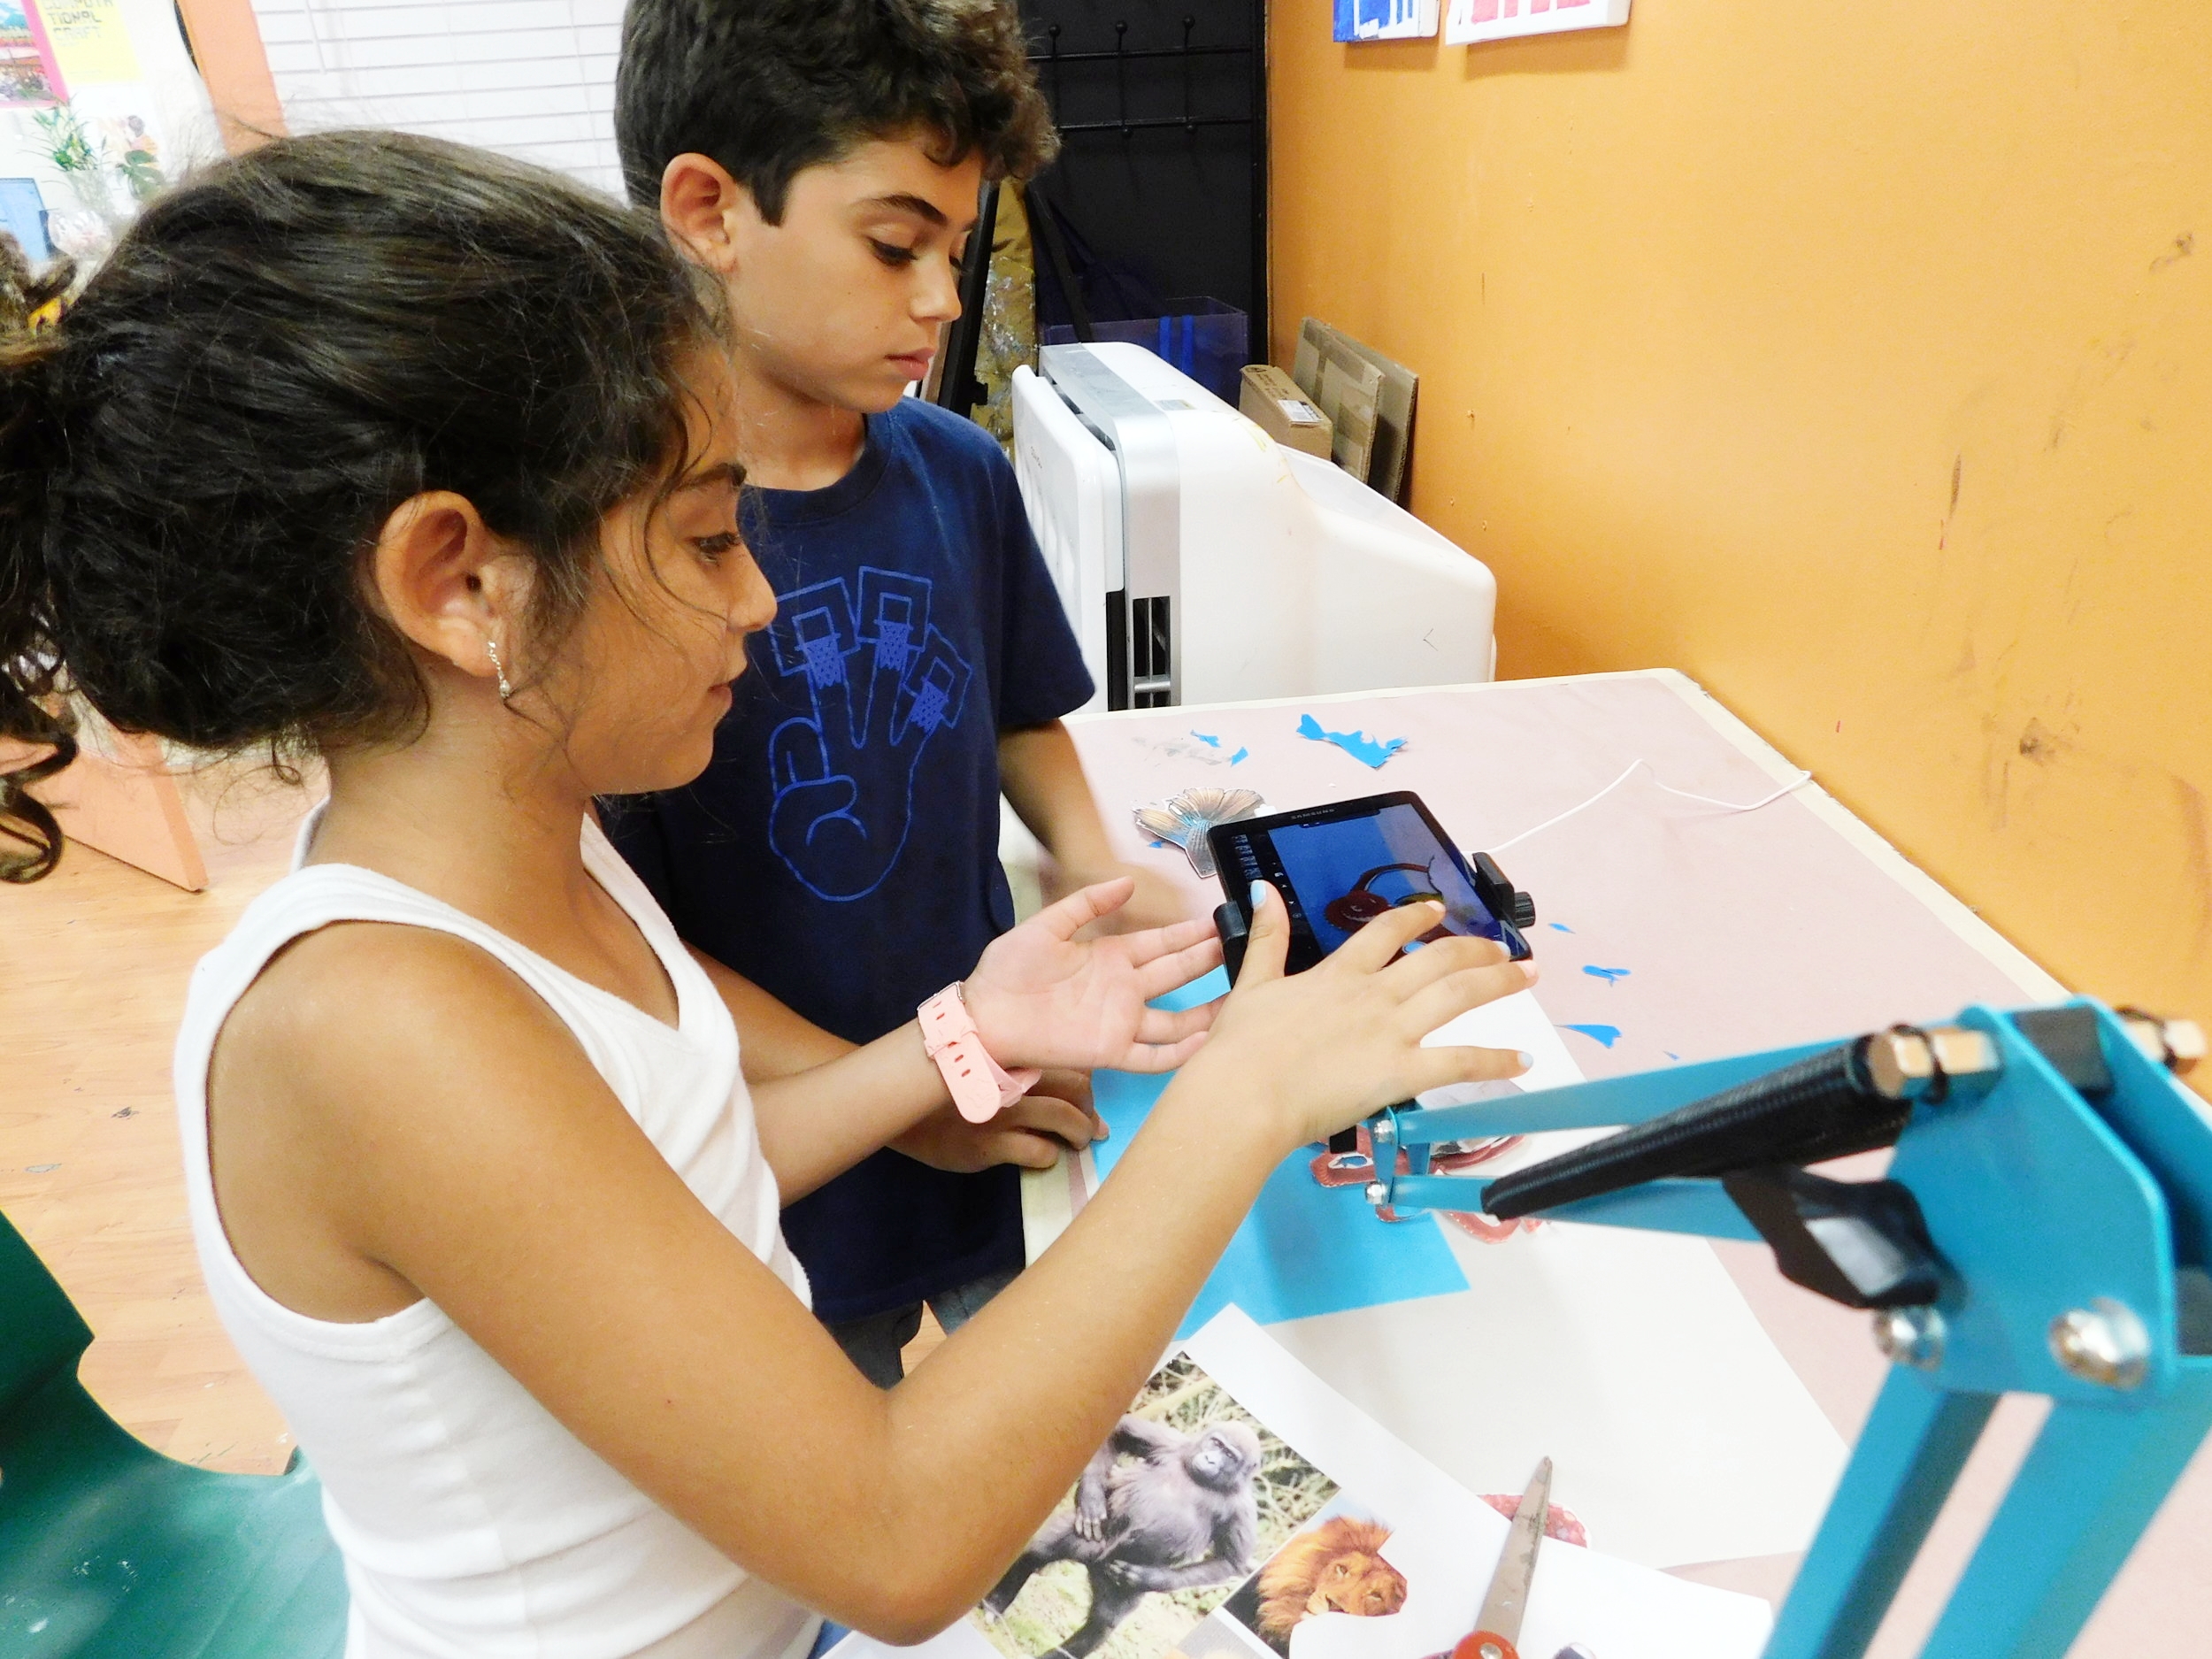
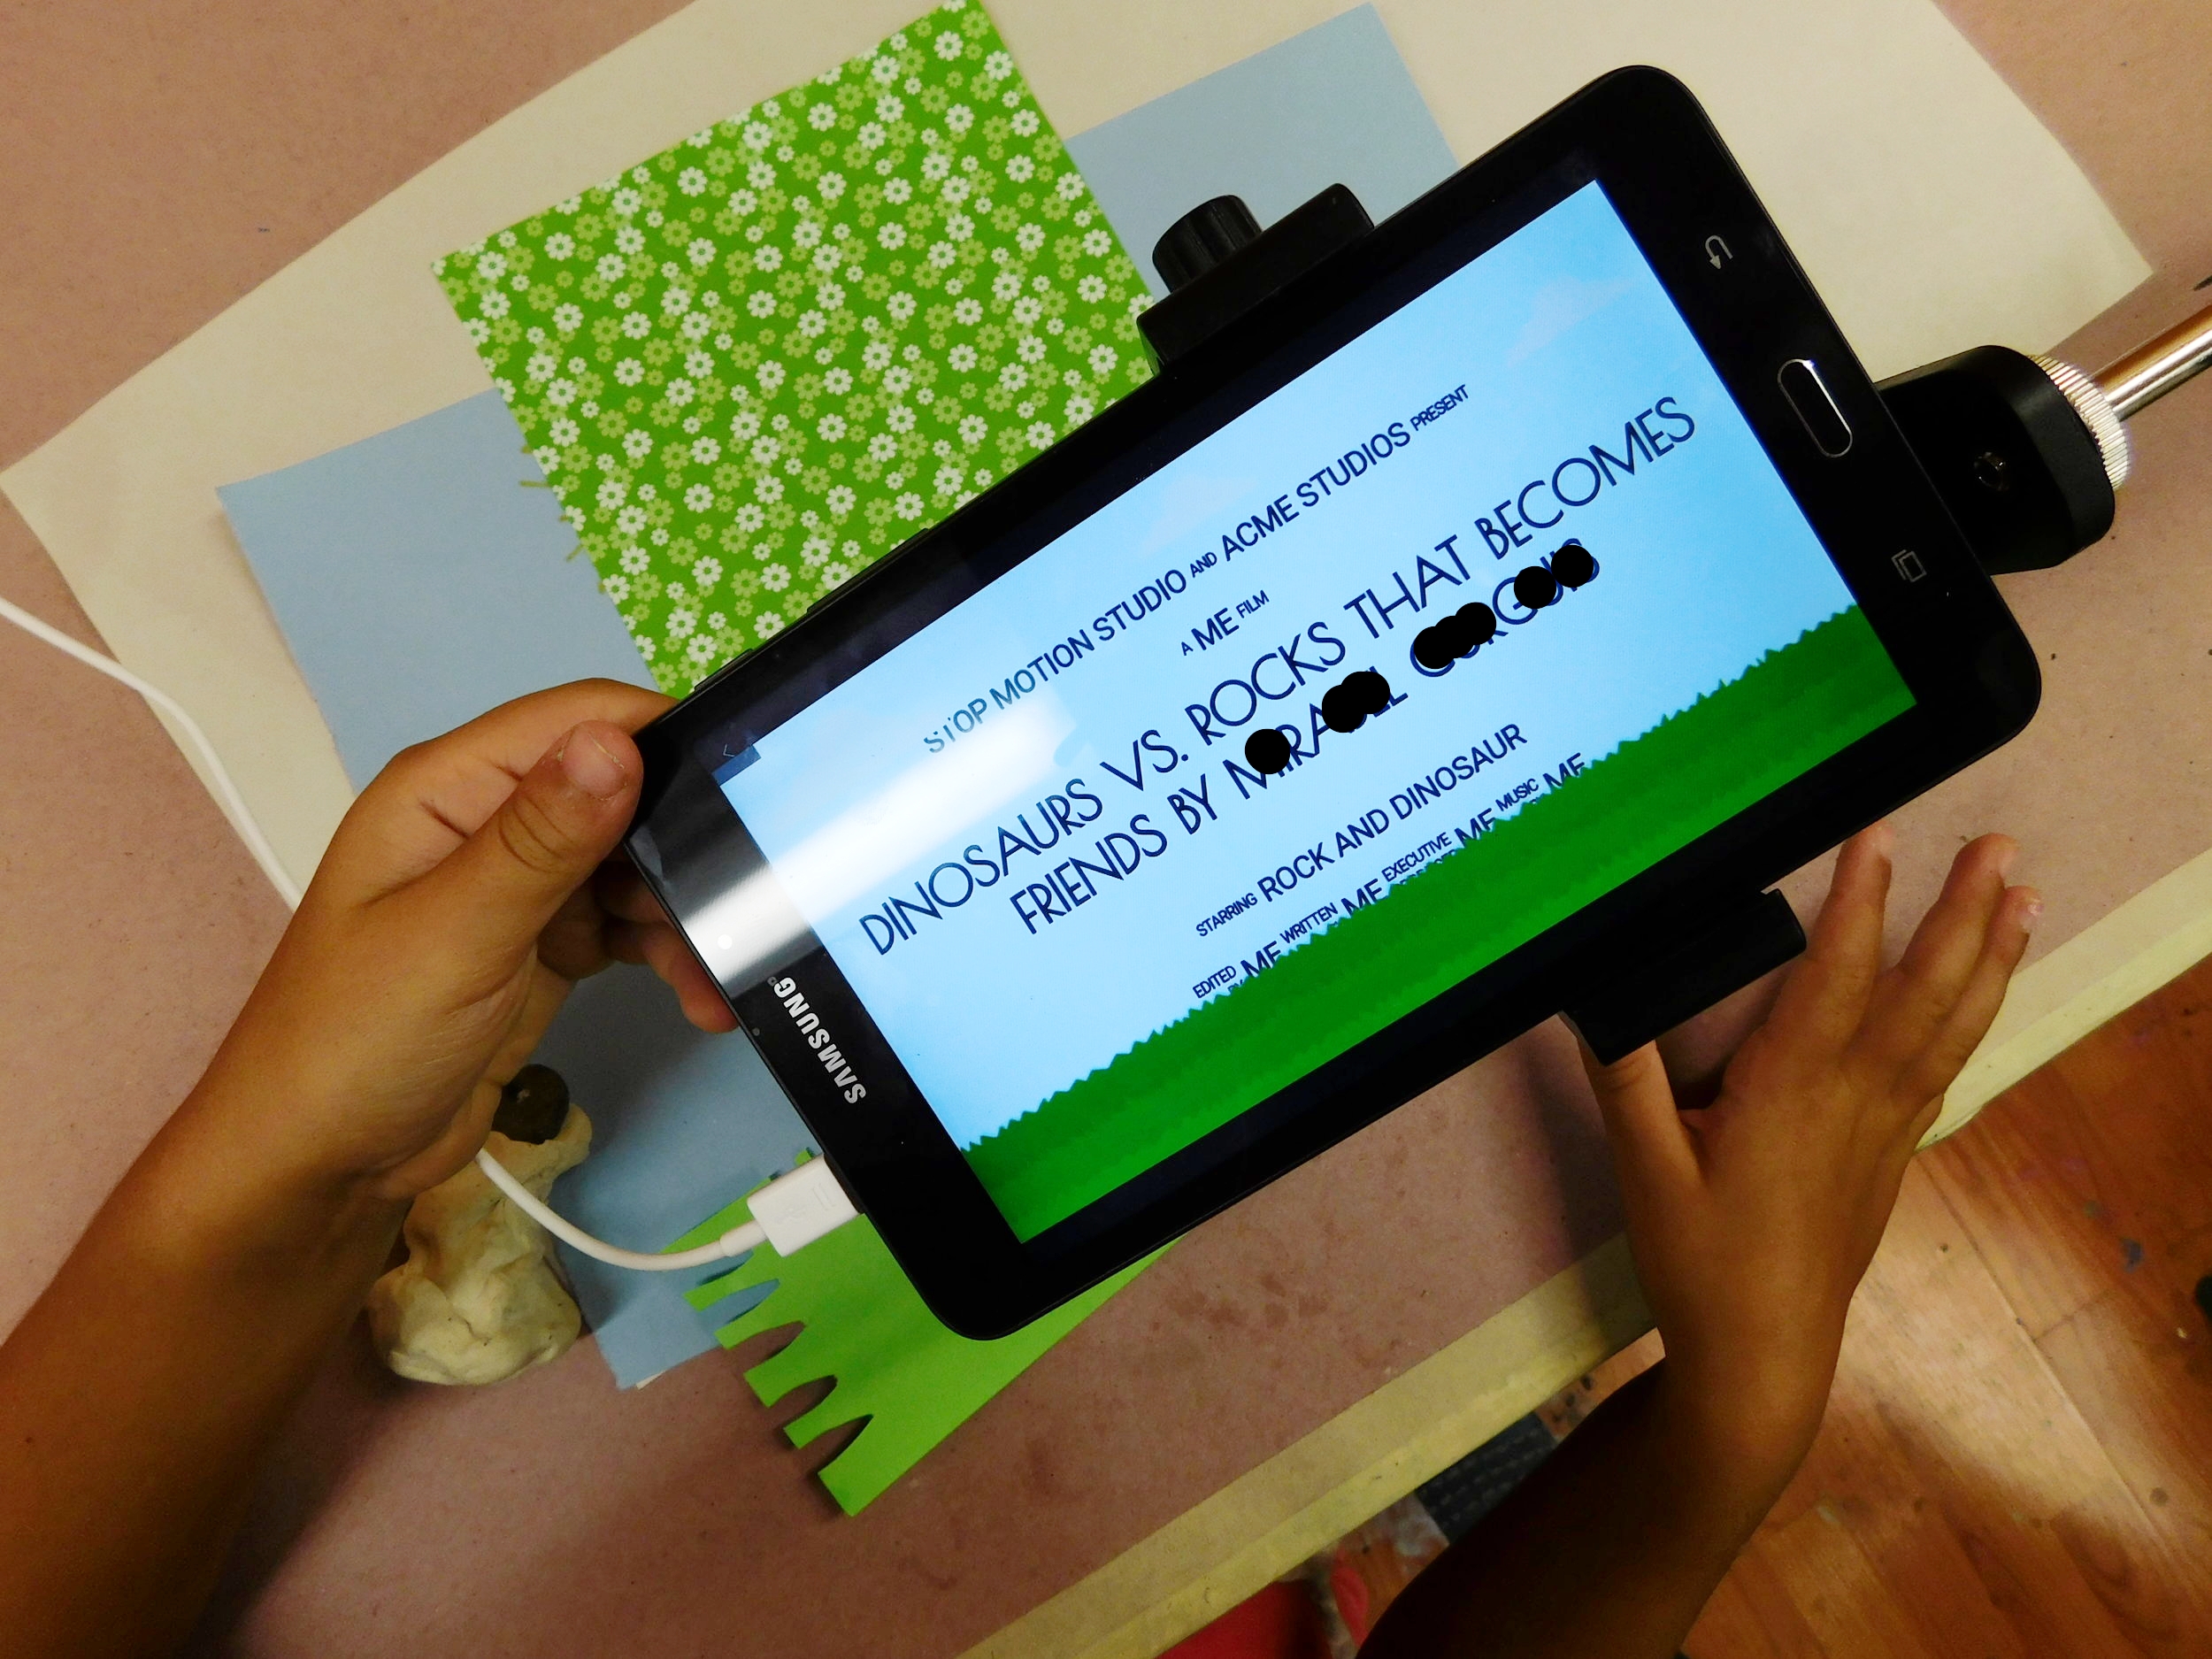
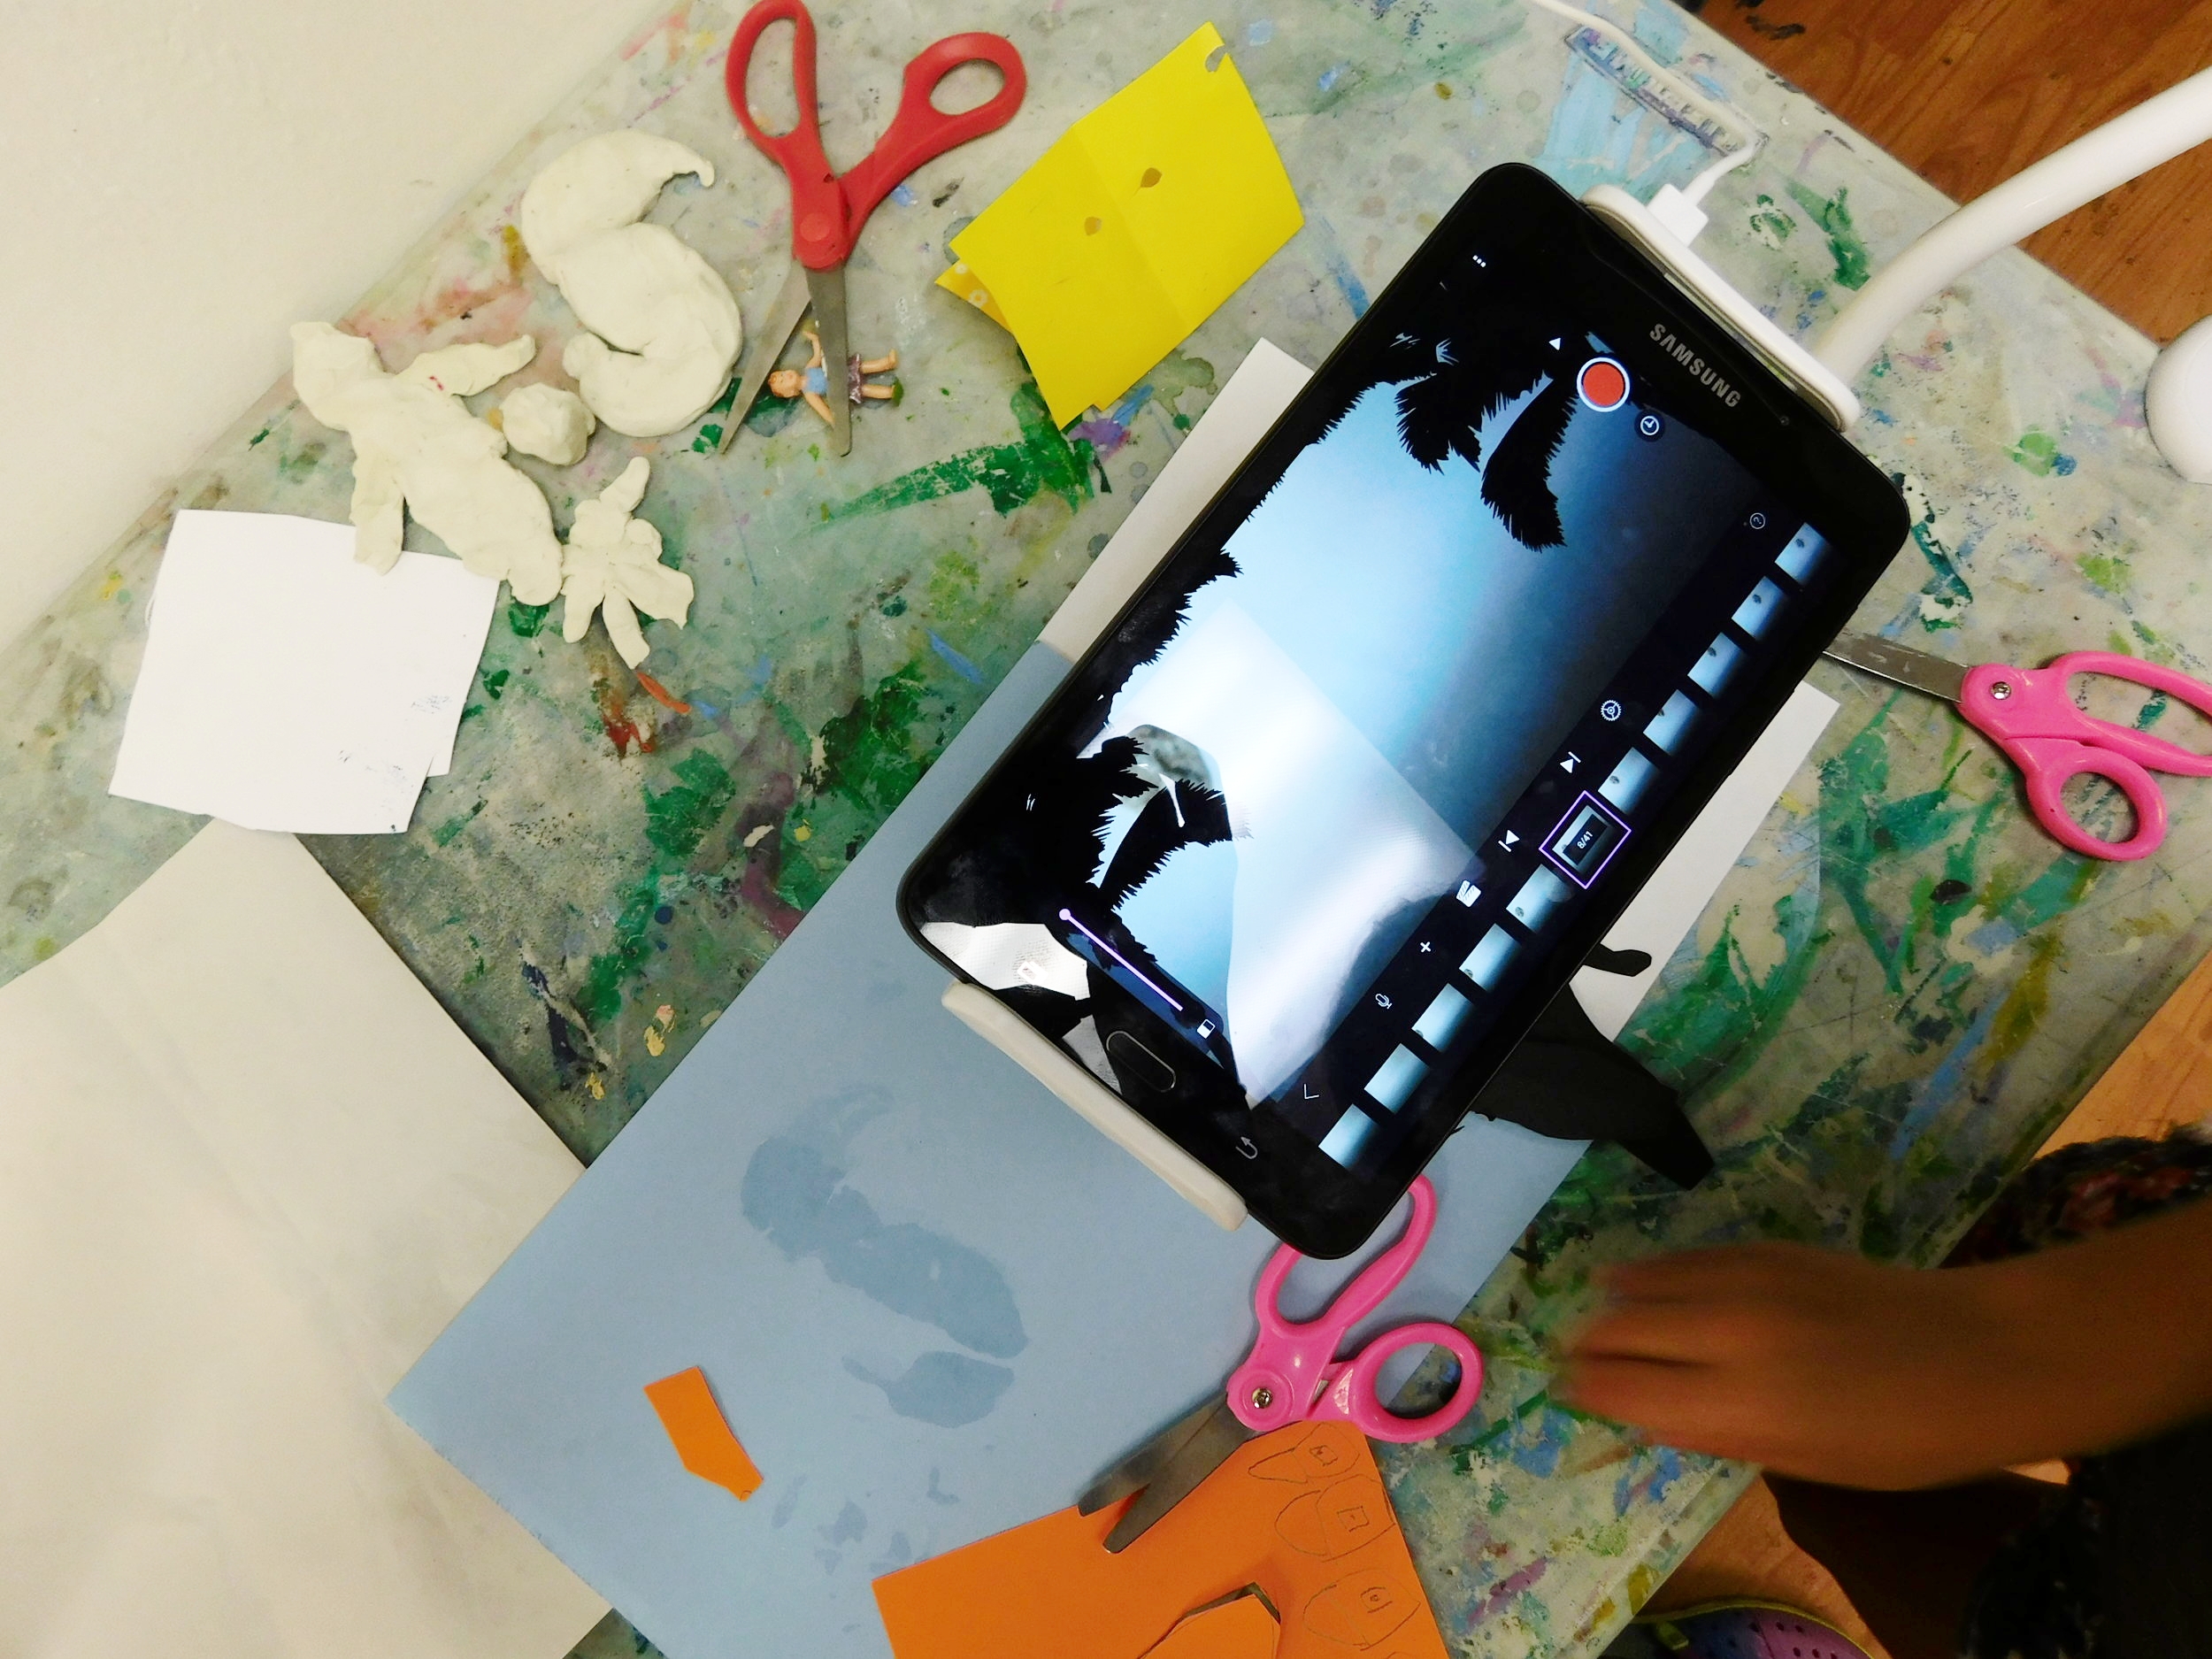
If we were to look at the pictures below, we can see that our students worked on tablets to create their own animations. The kids learned how to create a backdrop as well as adding music and effects to make their animations even more interesting. A lot of our students worked with paper to cut out their backdrops as well as their characters and other props to go into their animation. A few other students used clay to create the characters to give their short clips more dimension.
There were a few pairs that worked together and it was AMAZING to see their teamwork. There was one team that stood out to me the most. One team member was creating the characters and doing all the art work while one member was directing the film. The team work was just incredible.
Stop motion animation was one of the most interesting classes I observed. There was a combination of art work, directing, as well as creativity involved in this class.

Fall Creative Arts_Weeks 1-4
The first three weeks went by extremely fast. I want to thank all of our parents for spreading the word of our classes to friends and family. We are meeting such great little children every week inquiring about our programs.
In the fall, there are two types of Little Ashcan programs. We have our Creative Arts program which is from grades K through 3 and then we have our Design Lab program which is for kids that have taken our Creative Arts program and are in grades 2 through 5. In today’s blog entry, I would like to talk about the first three weeks of our Creative Arts K-3 program.
WEEK 1
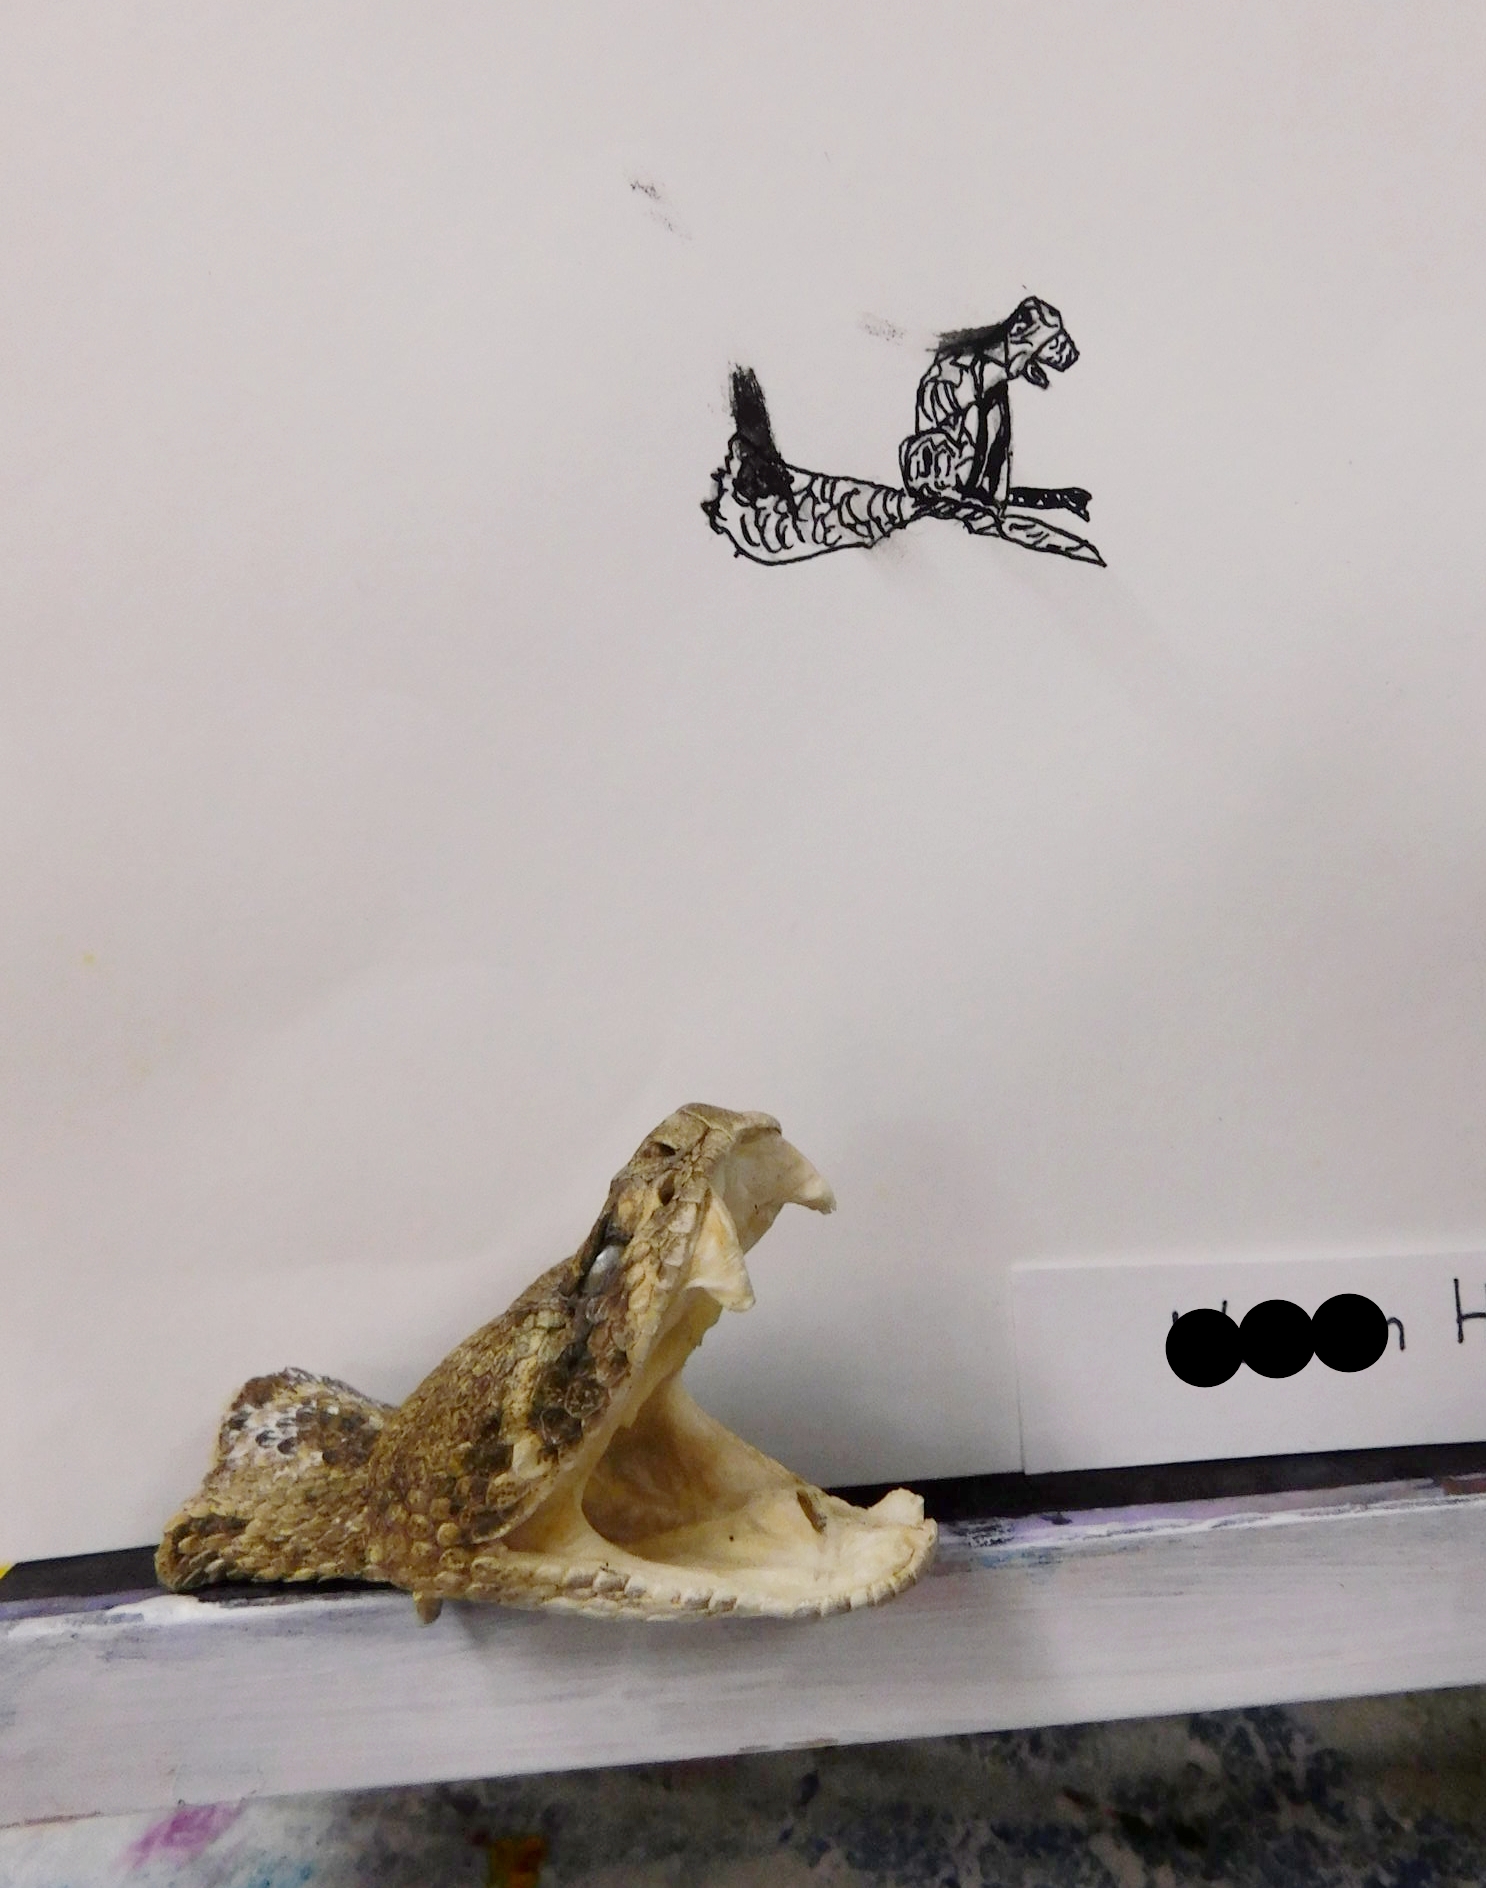
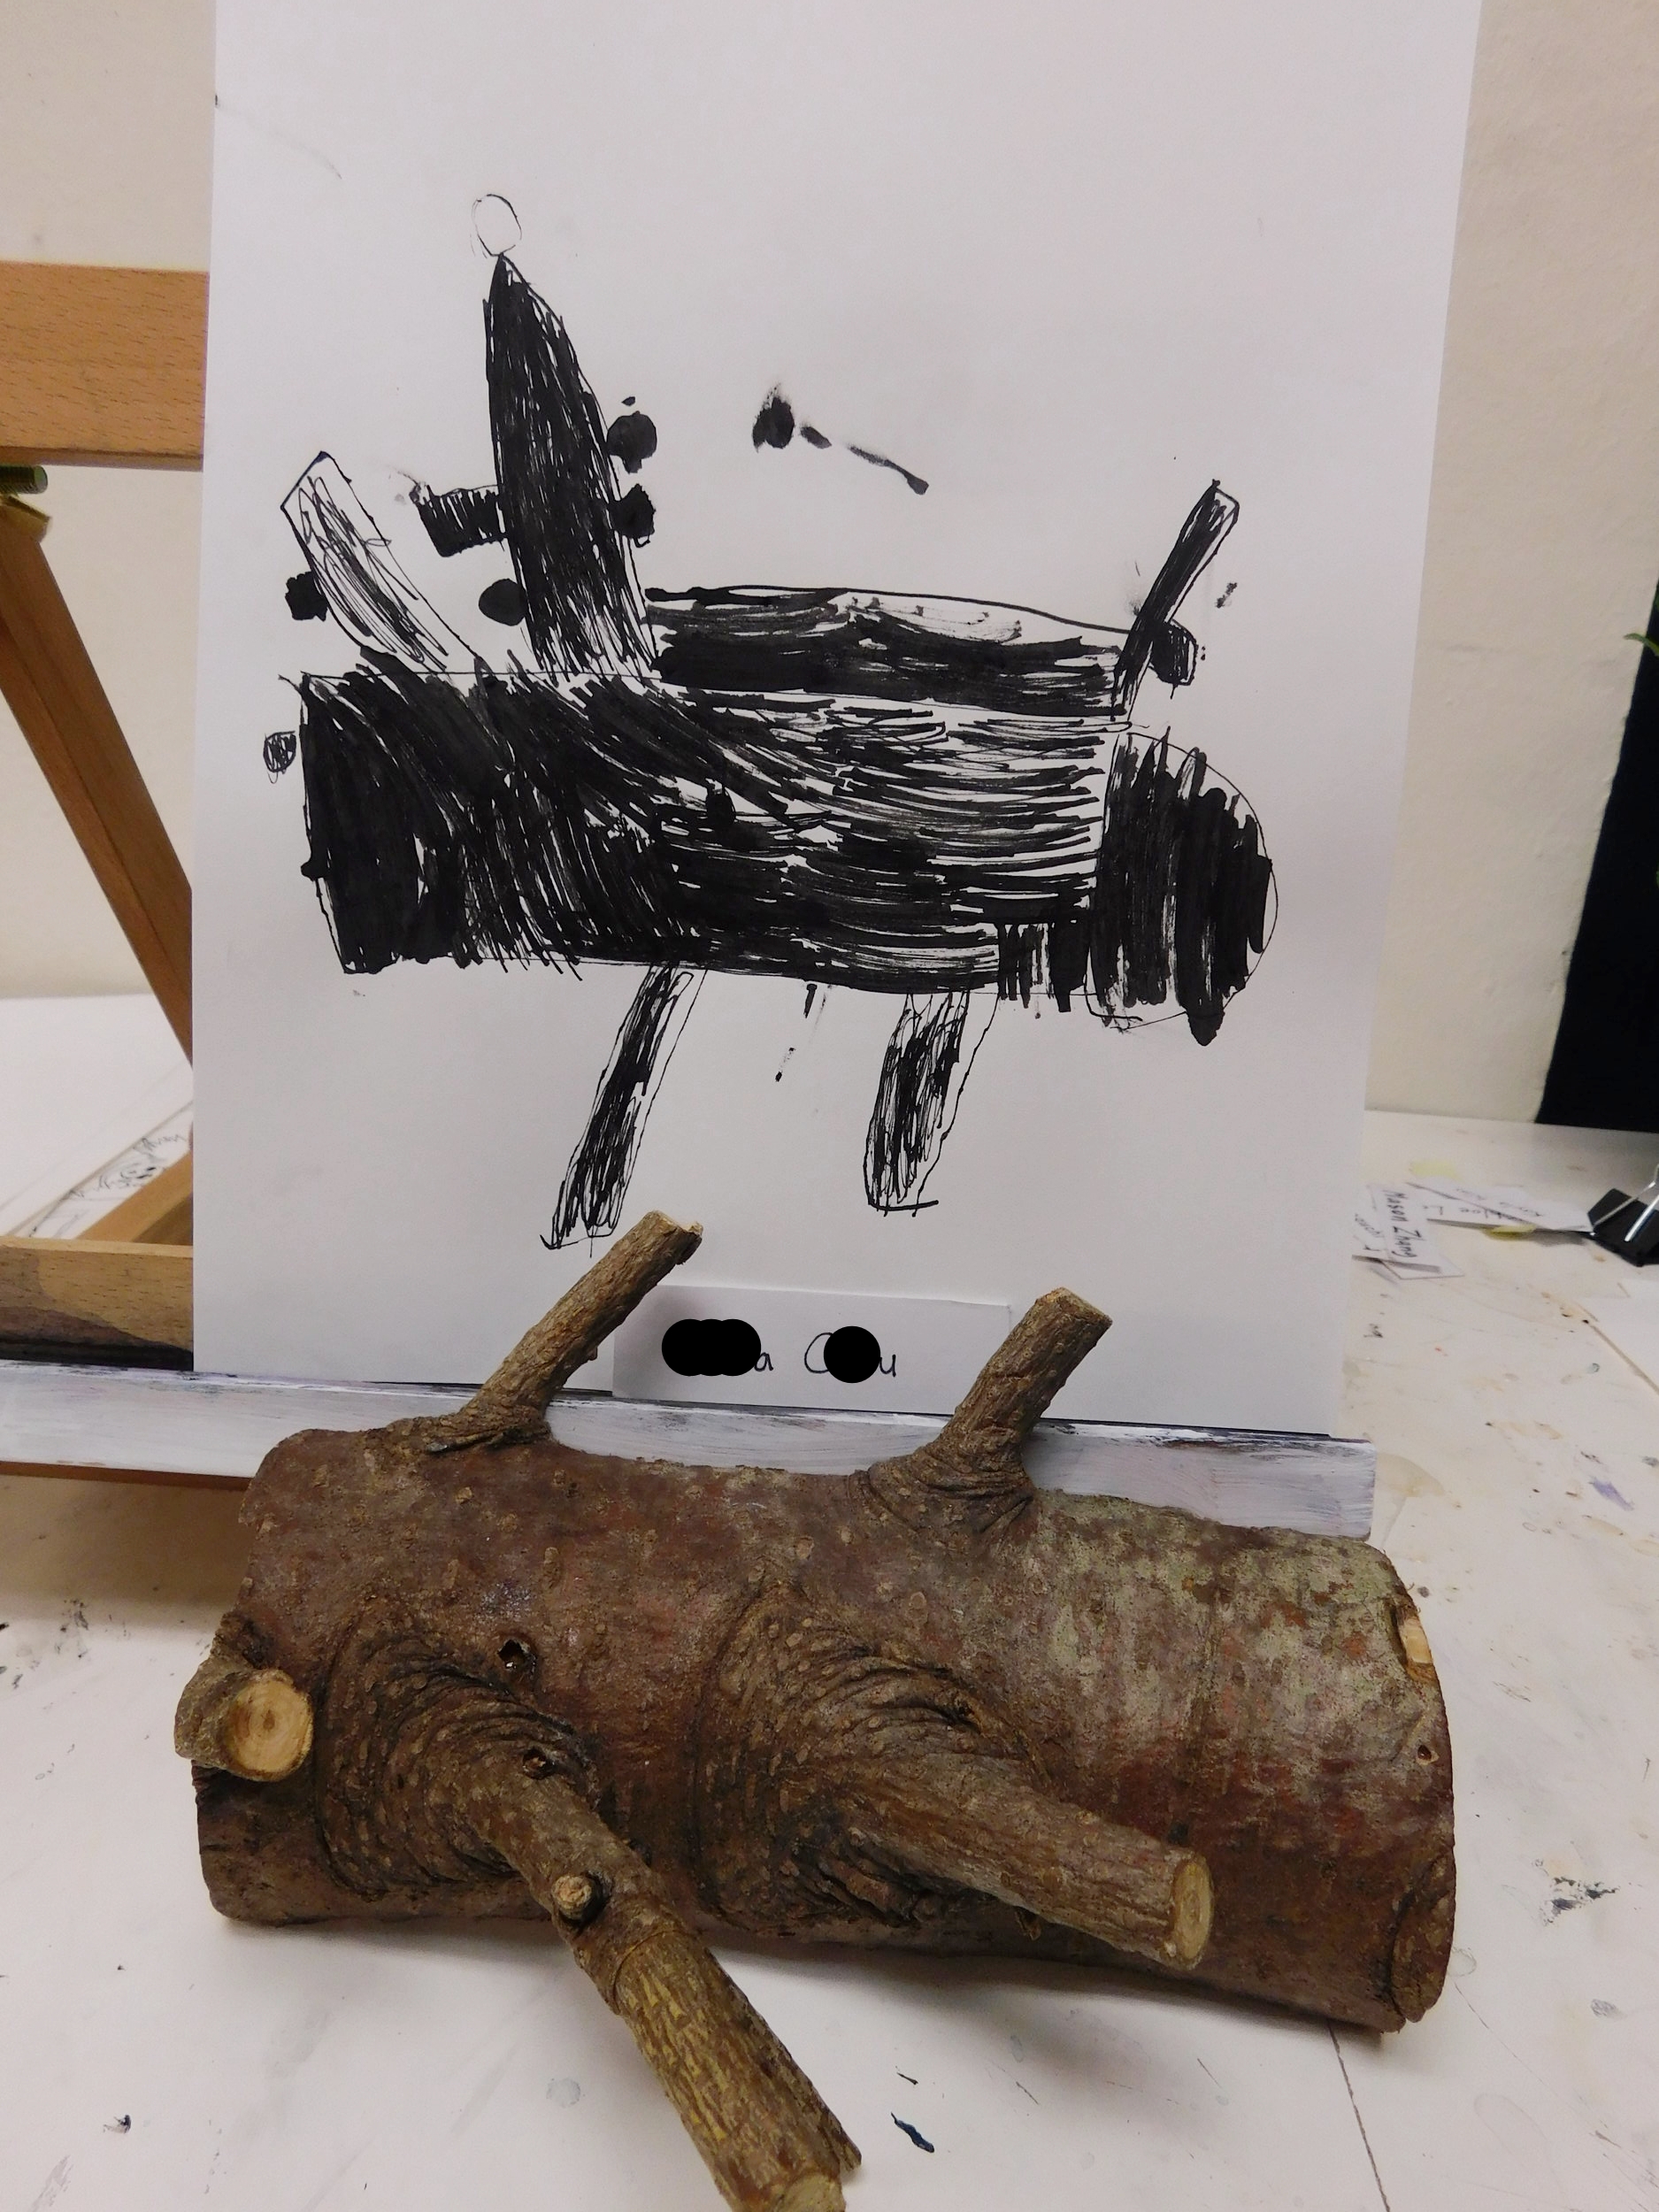
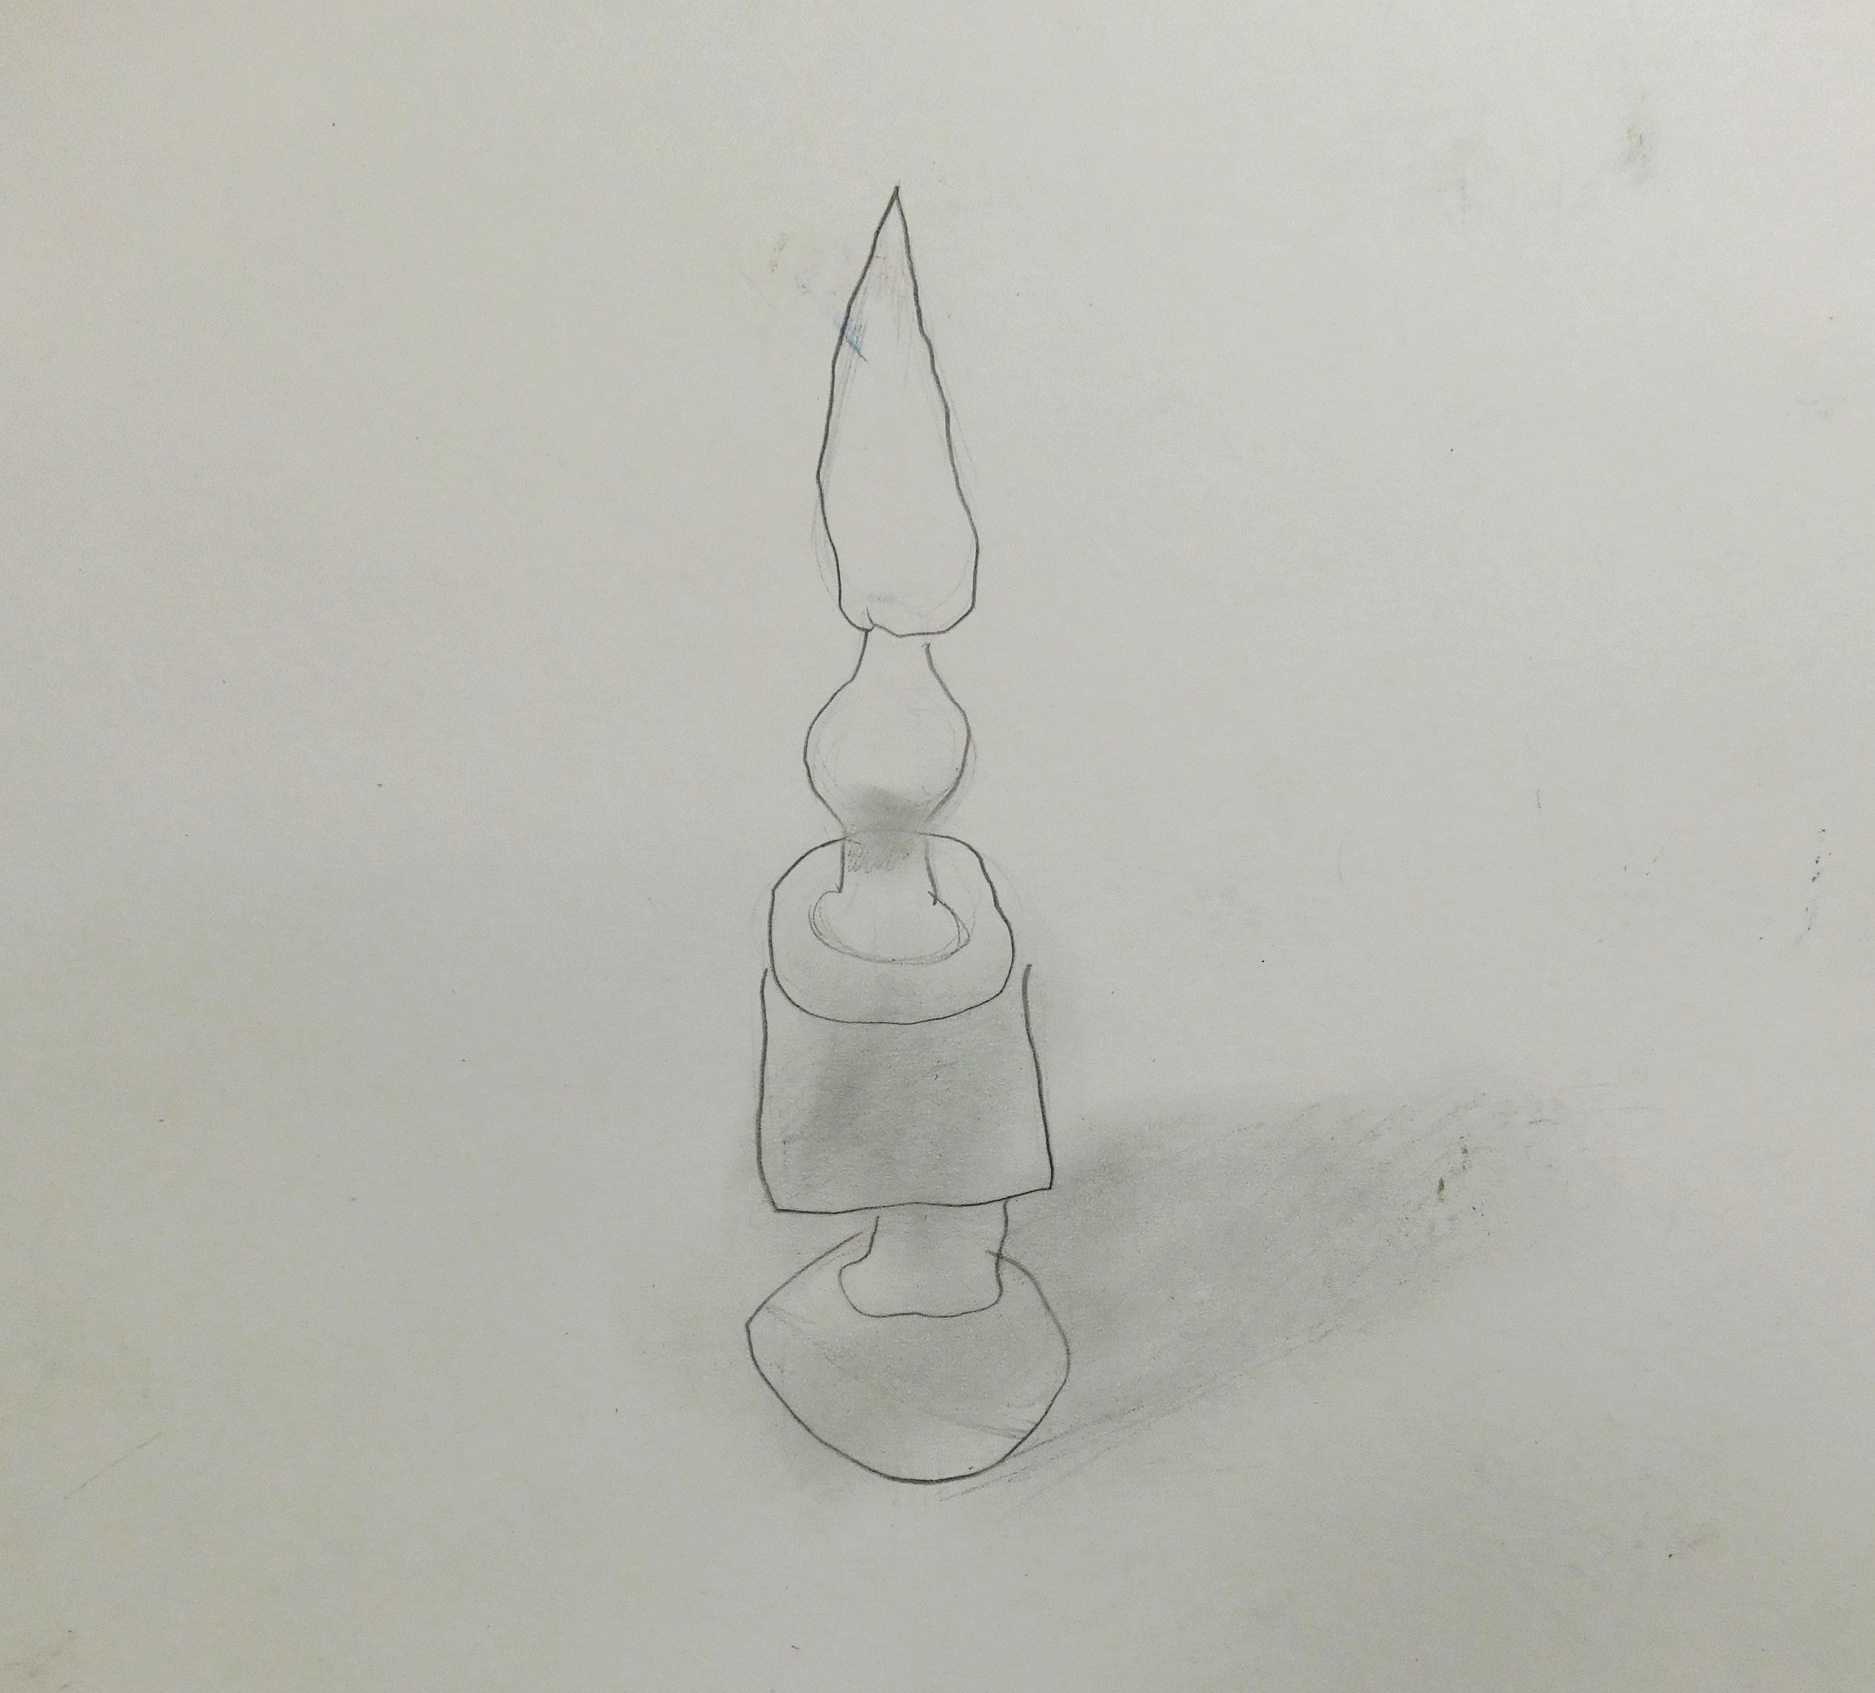
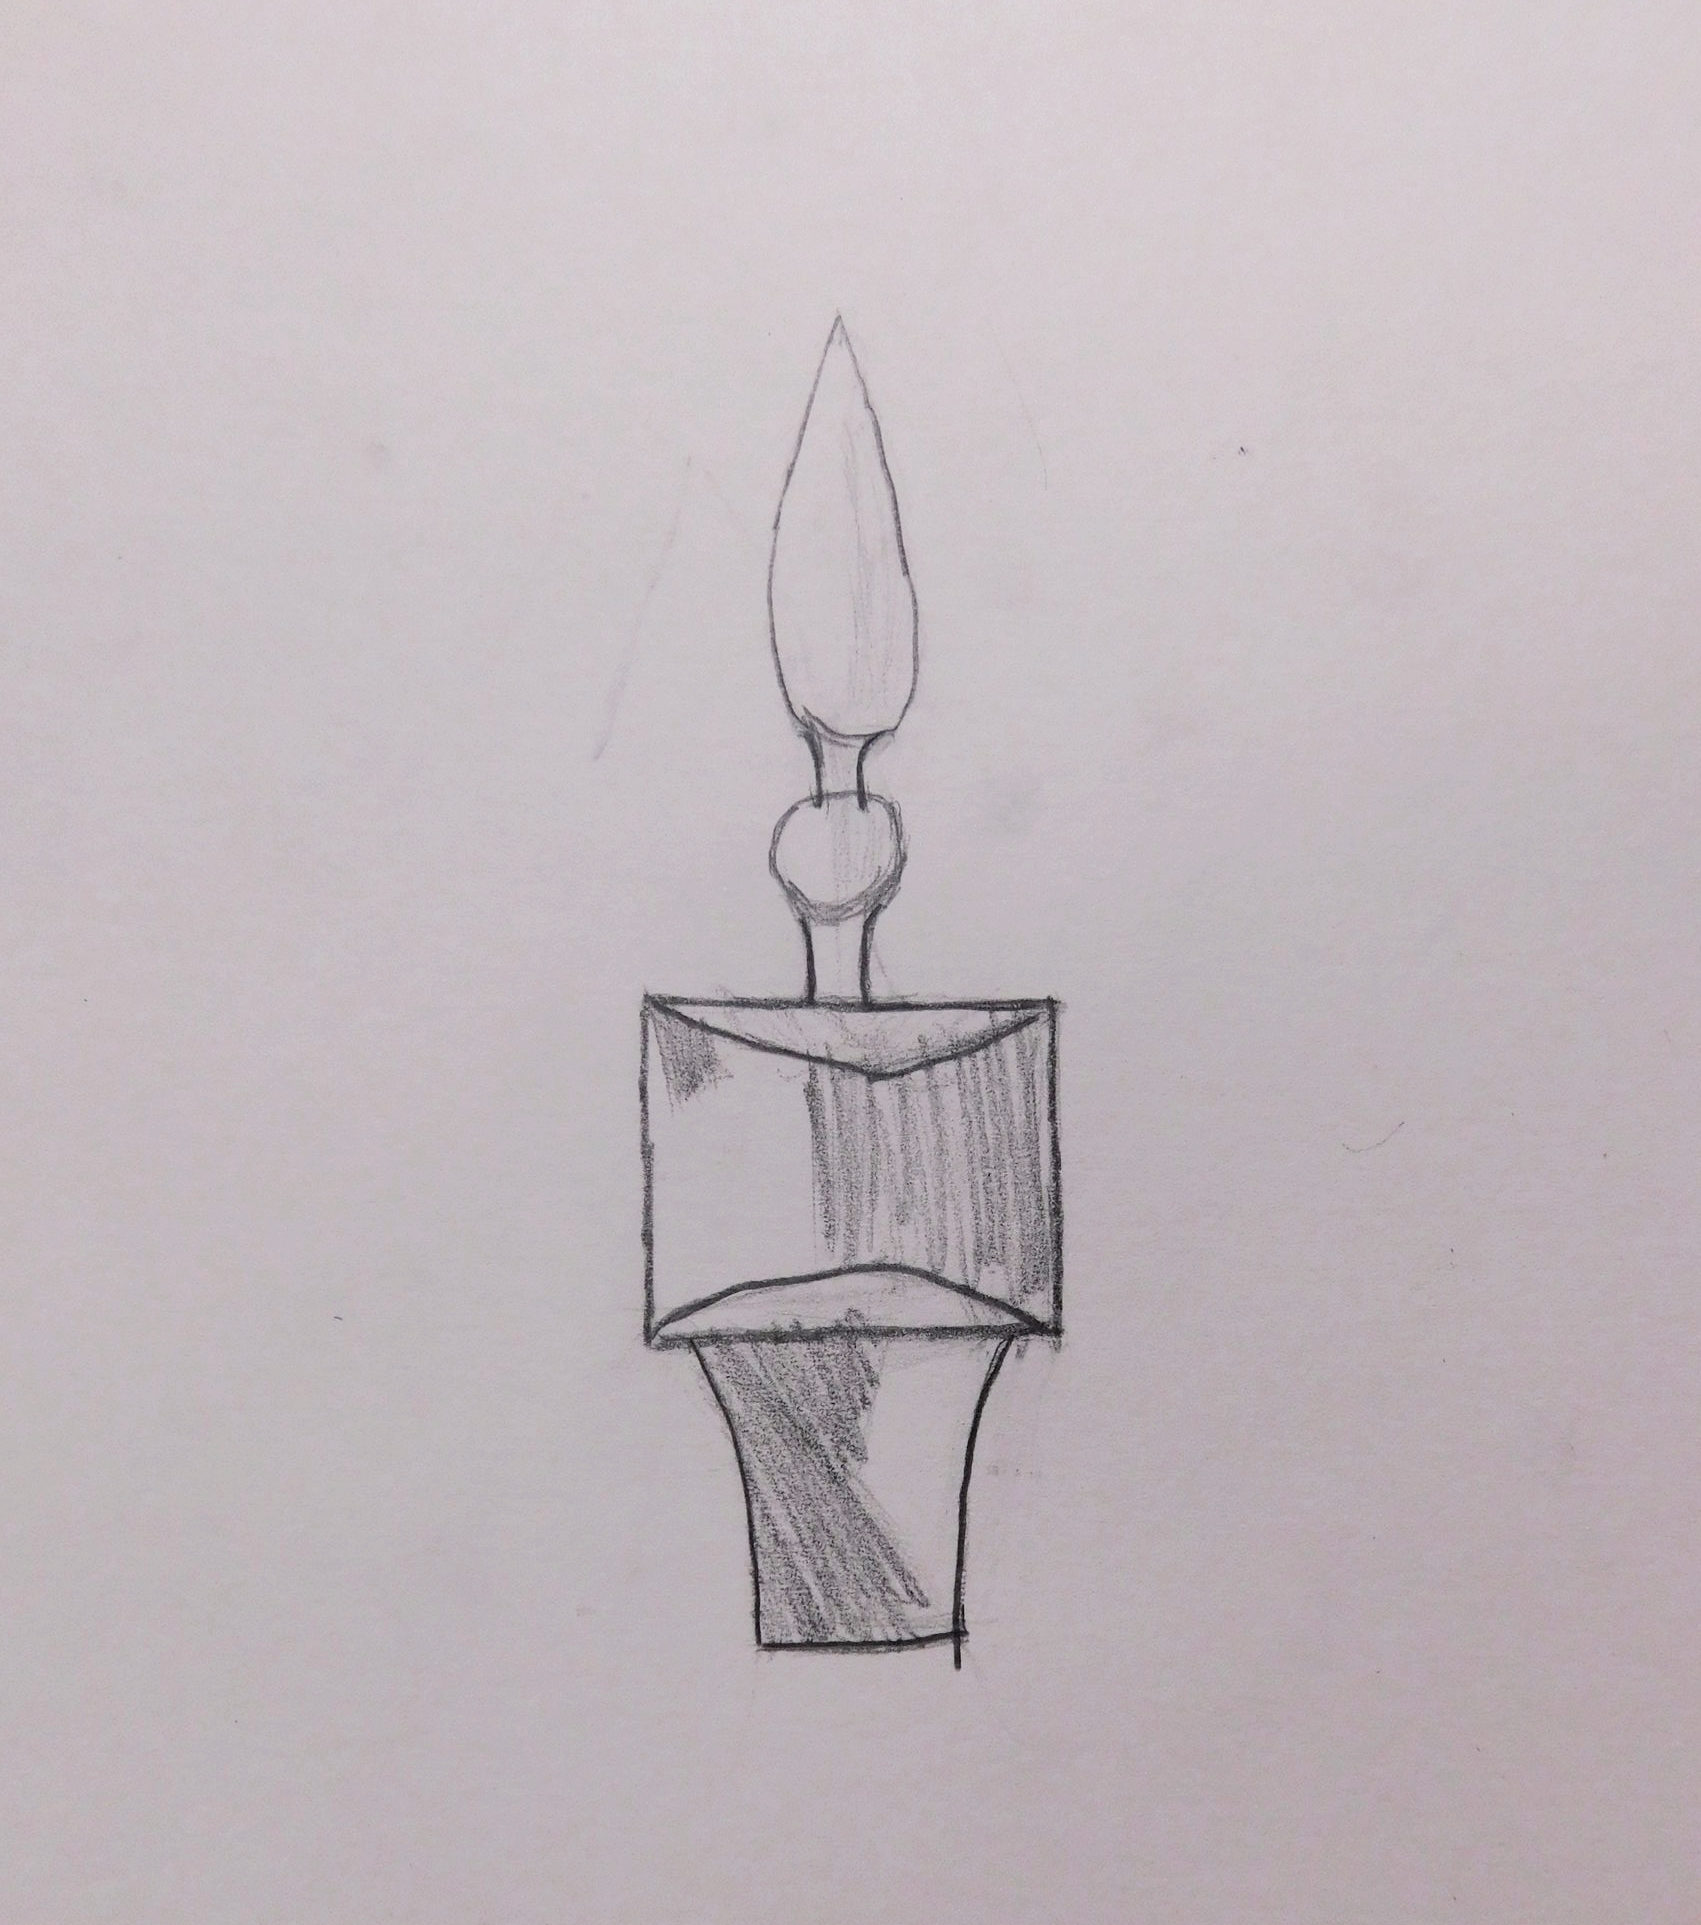
The first week of Creative Arts was all about still lives. We like to take things back to the basics once in a while and we thought that we would start the semester off with a simple, yet not so simple, still life. Our instructor chose a few objects from our studio’s object shelf and our kids got to choose which object they wanted to draw. You can see how our students learned how to add shading and value. Our key is to learn how to draw from observation. It is the most important skill all of our students are taught. This black and white class led to something a little more colorful the following week!
WEEKS 2 + 3
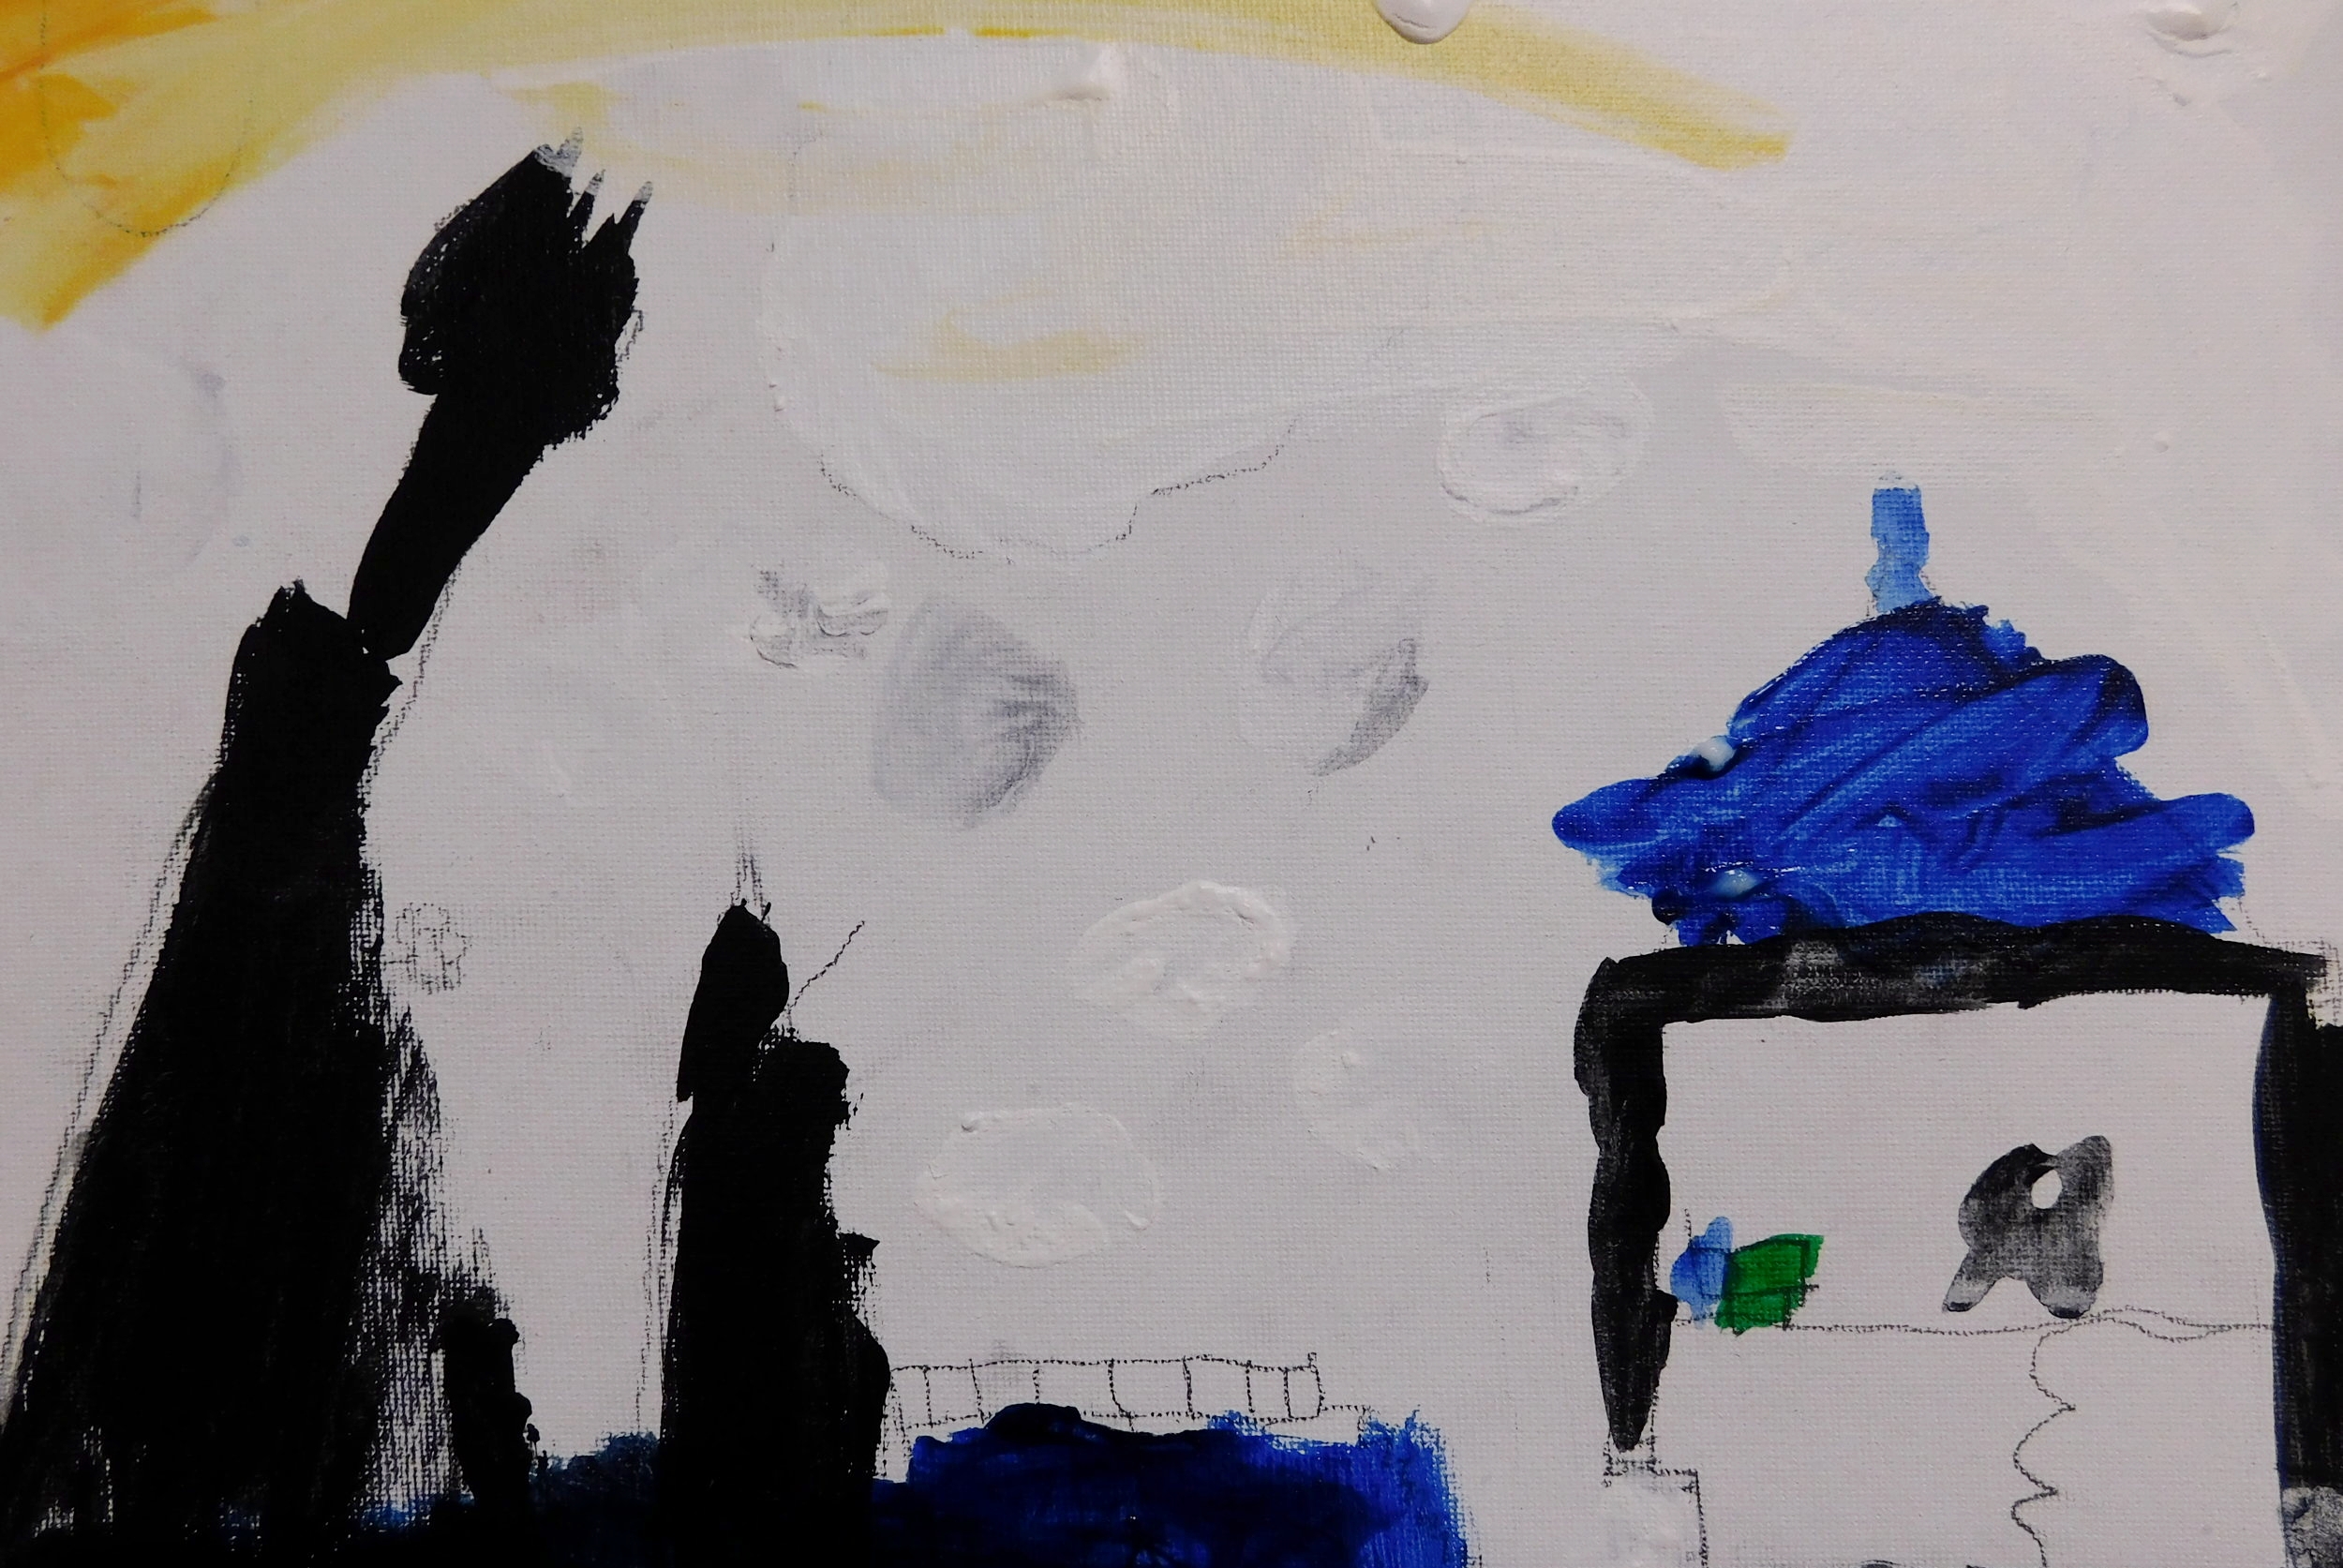
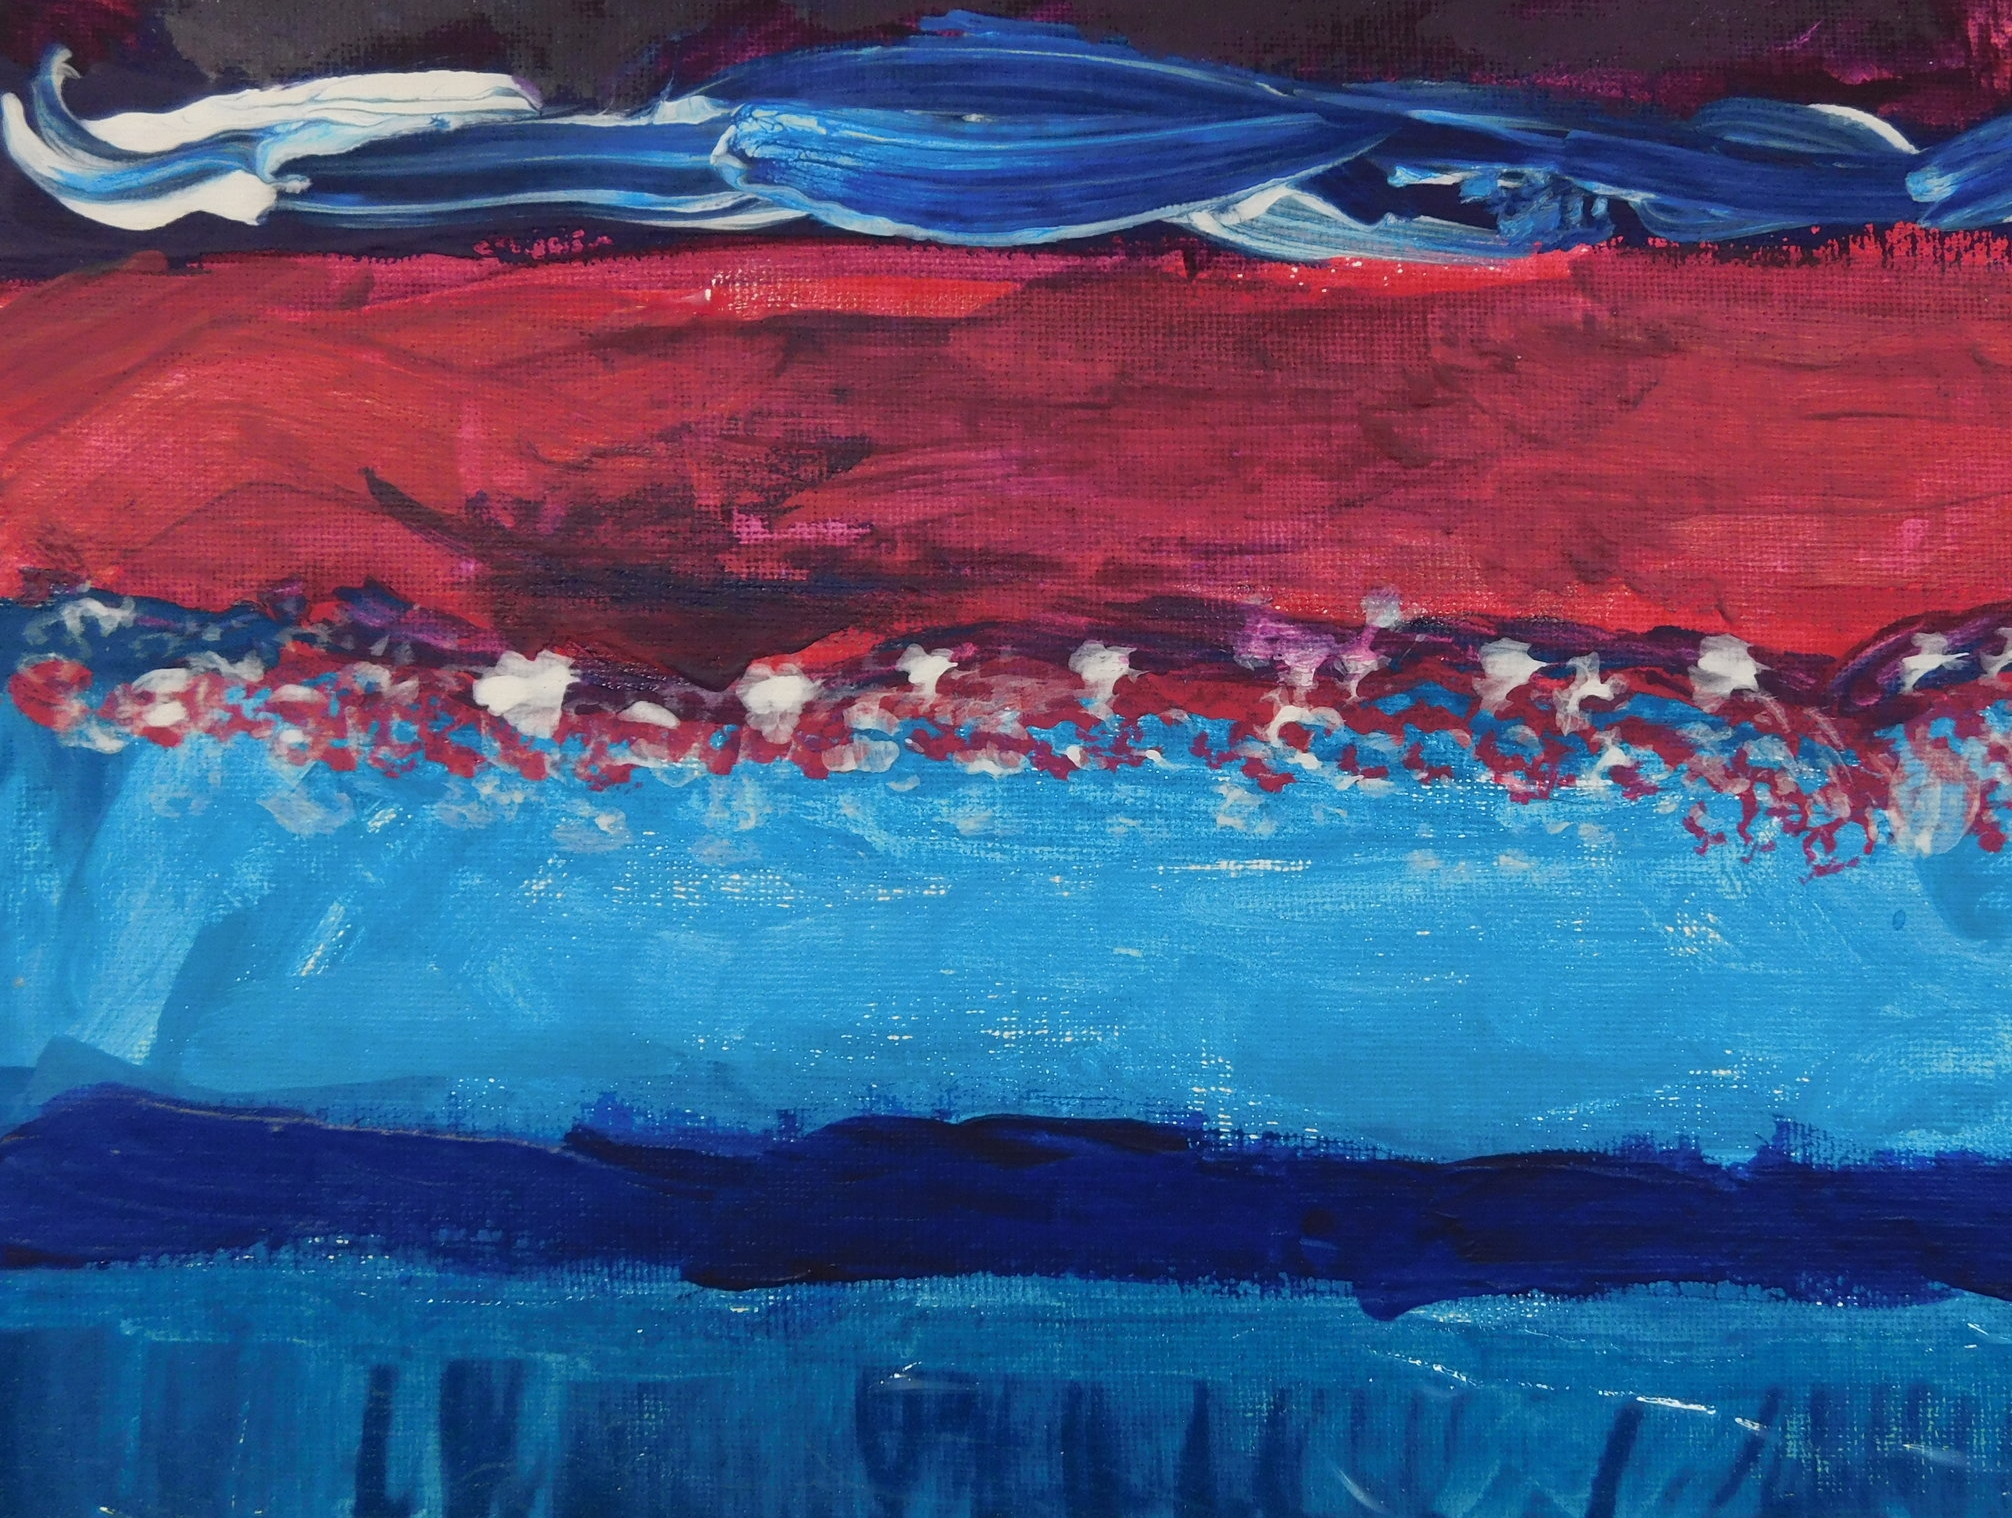
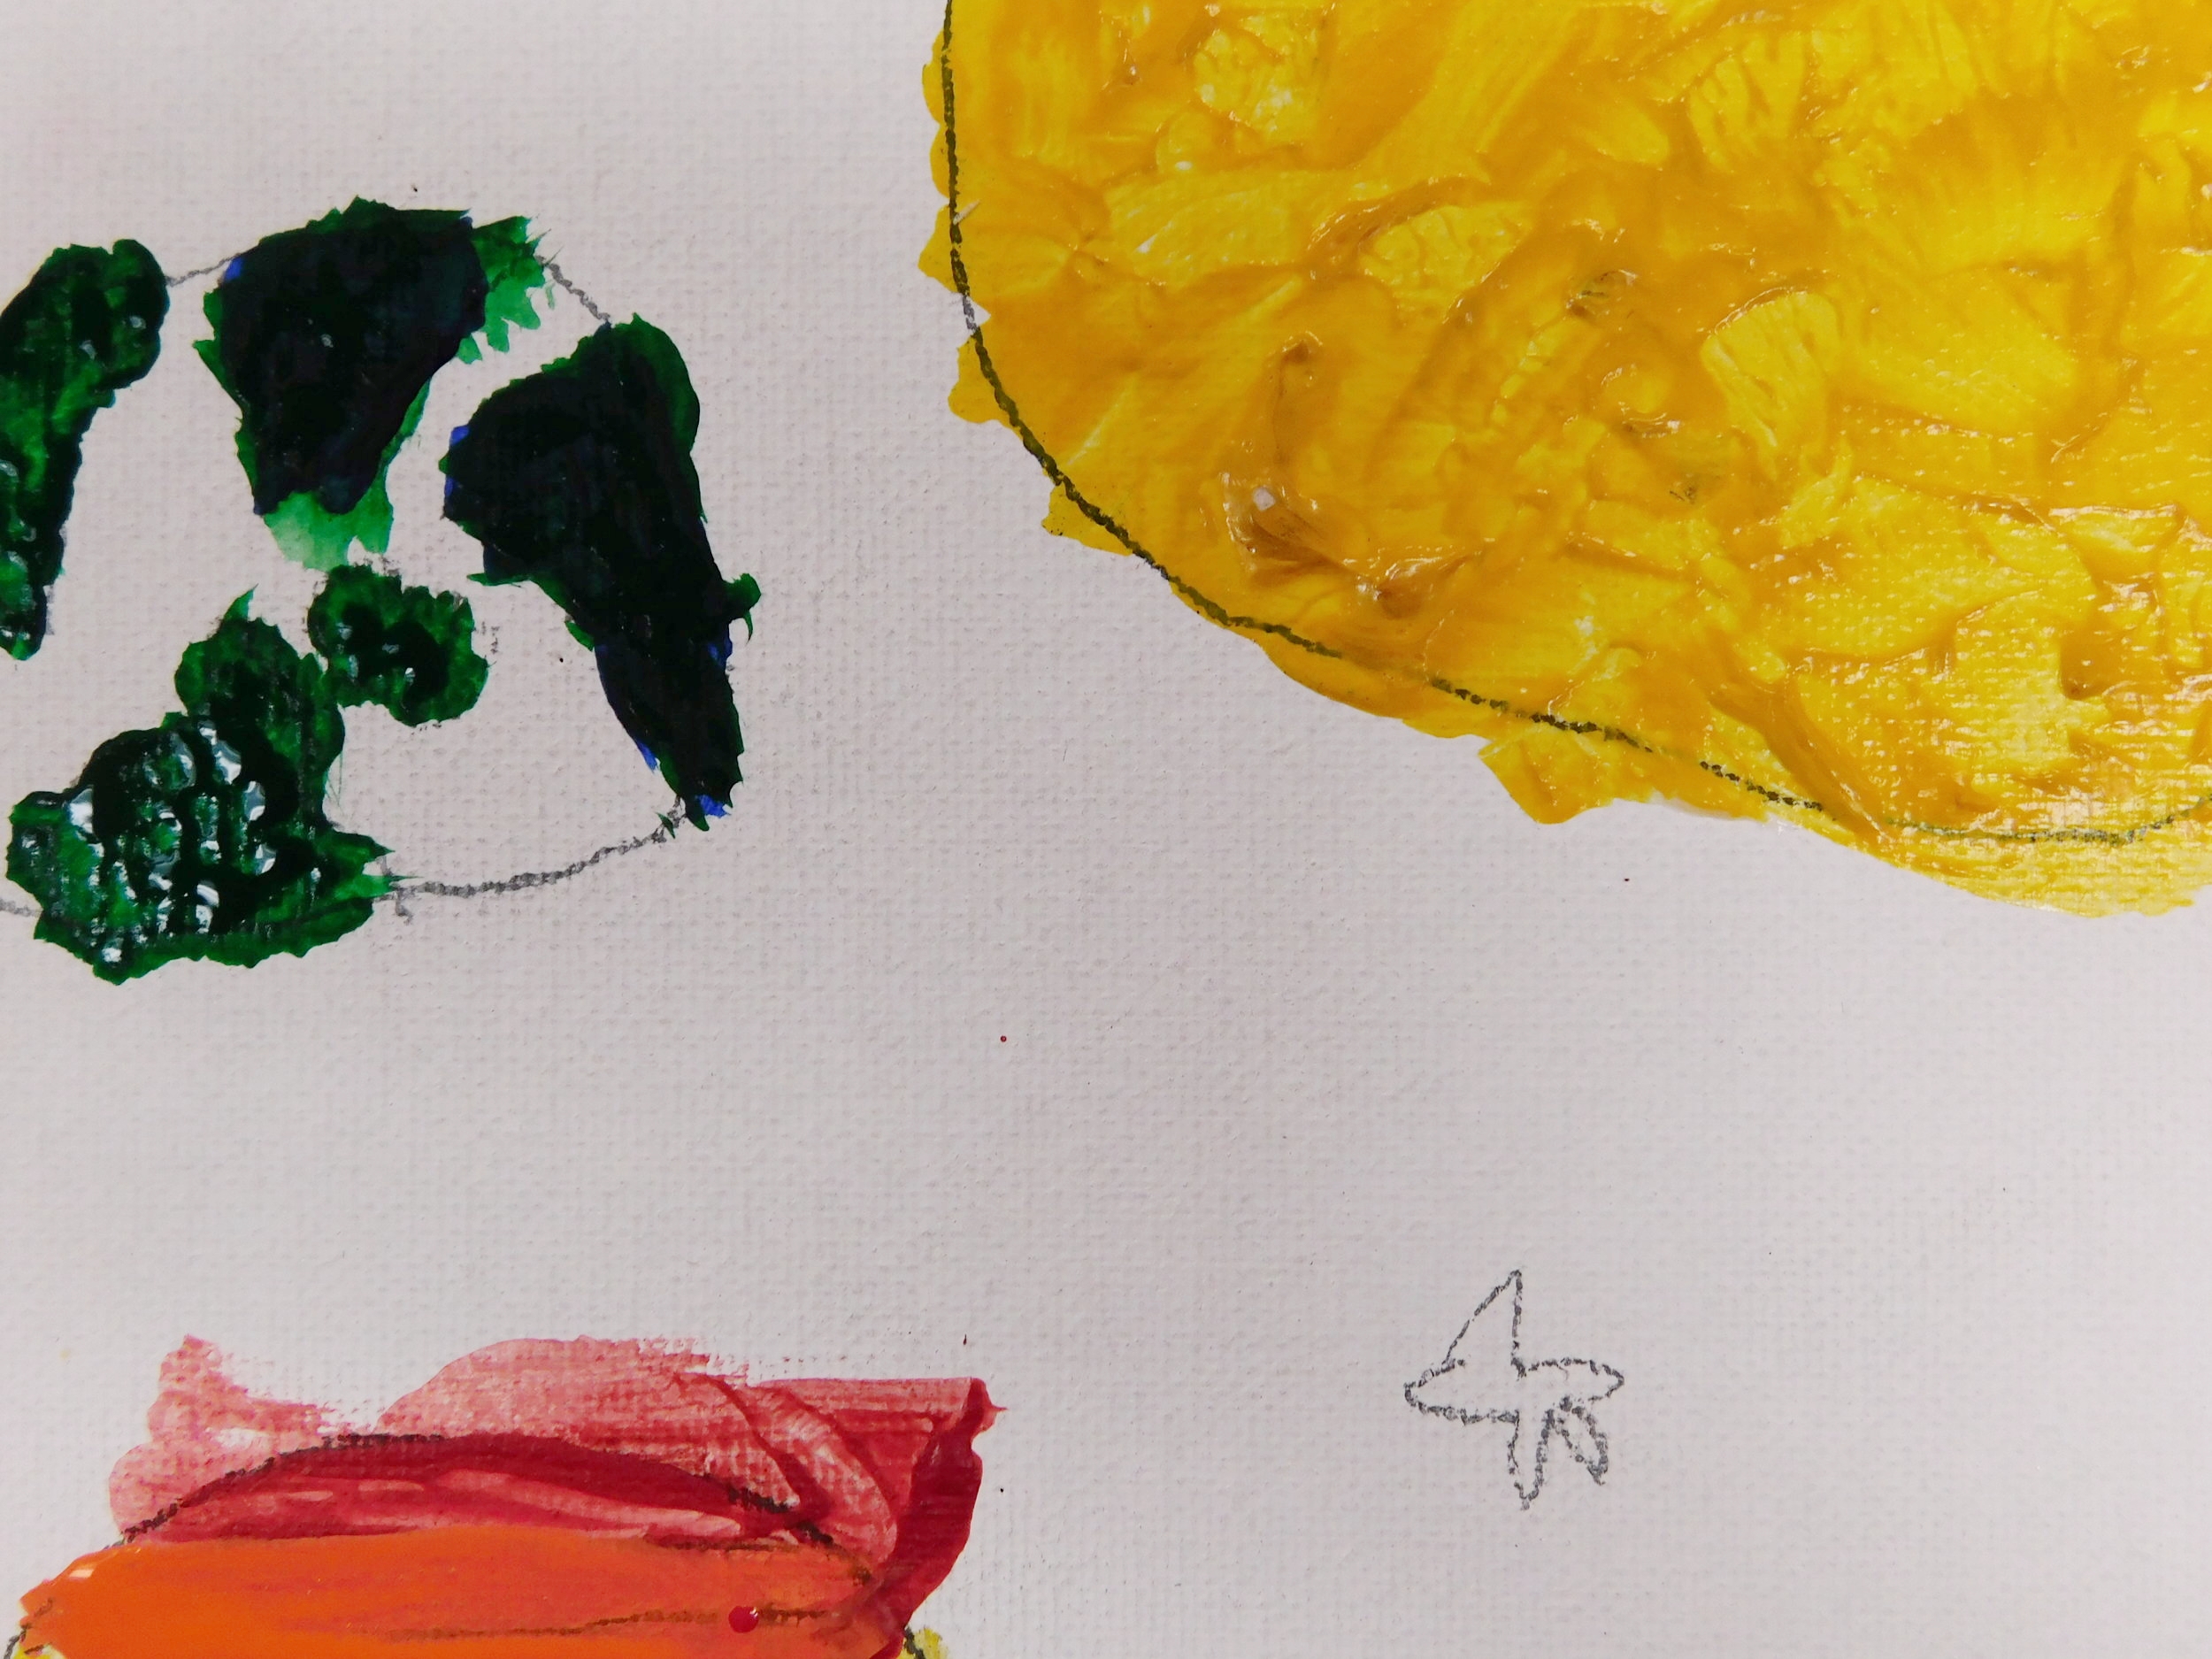
Our kids were introduced to a new type of medium today - GEL MEDIUM! Gel medium is a type of gooey paint that extends the paint and gives the paint more volume. Here are some paintings by our beautiful little artists that portrayed imposto very well. Our kids really mixed the gel medium with acrylic paint to extend the paint and give the painting dimension. The gel medium dries in the form it was placed, so our kids like to say the paint became puffy!
WEEK 4
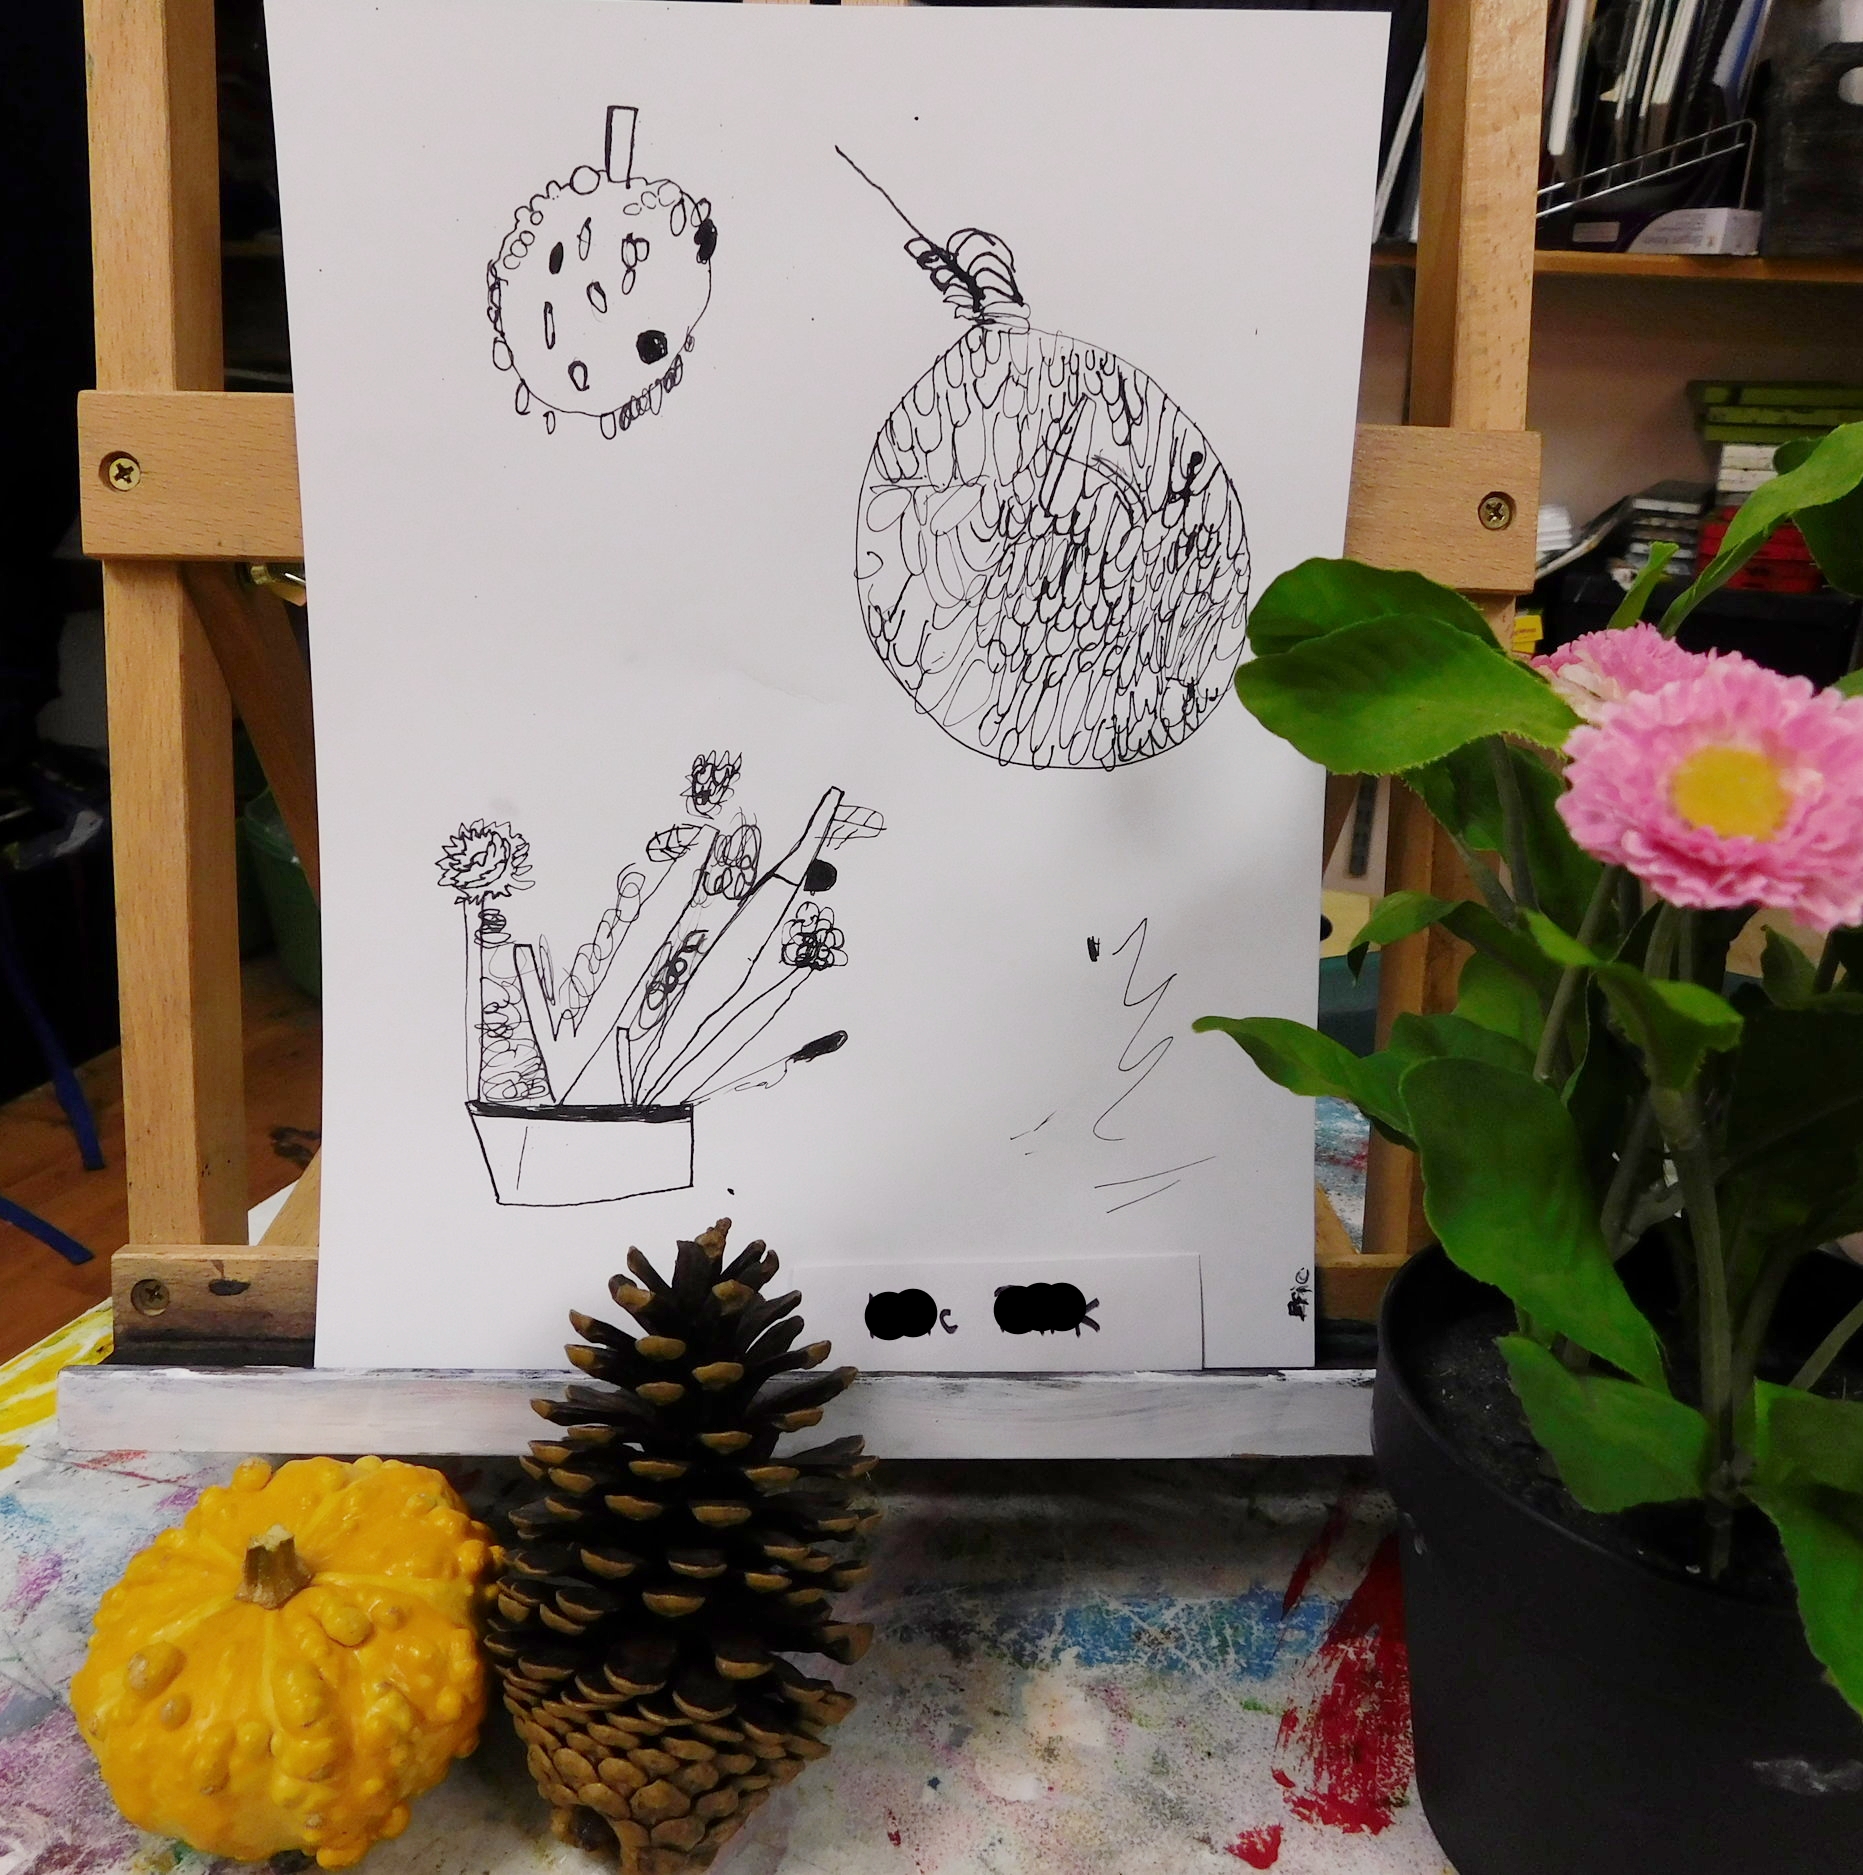
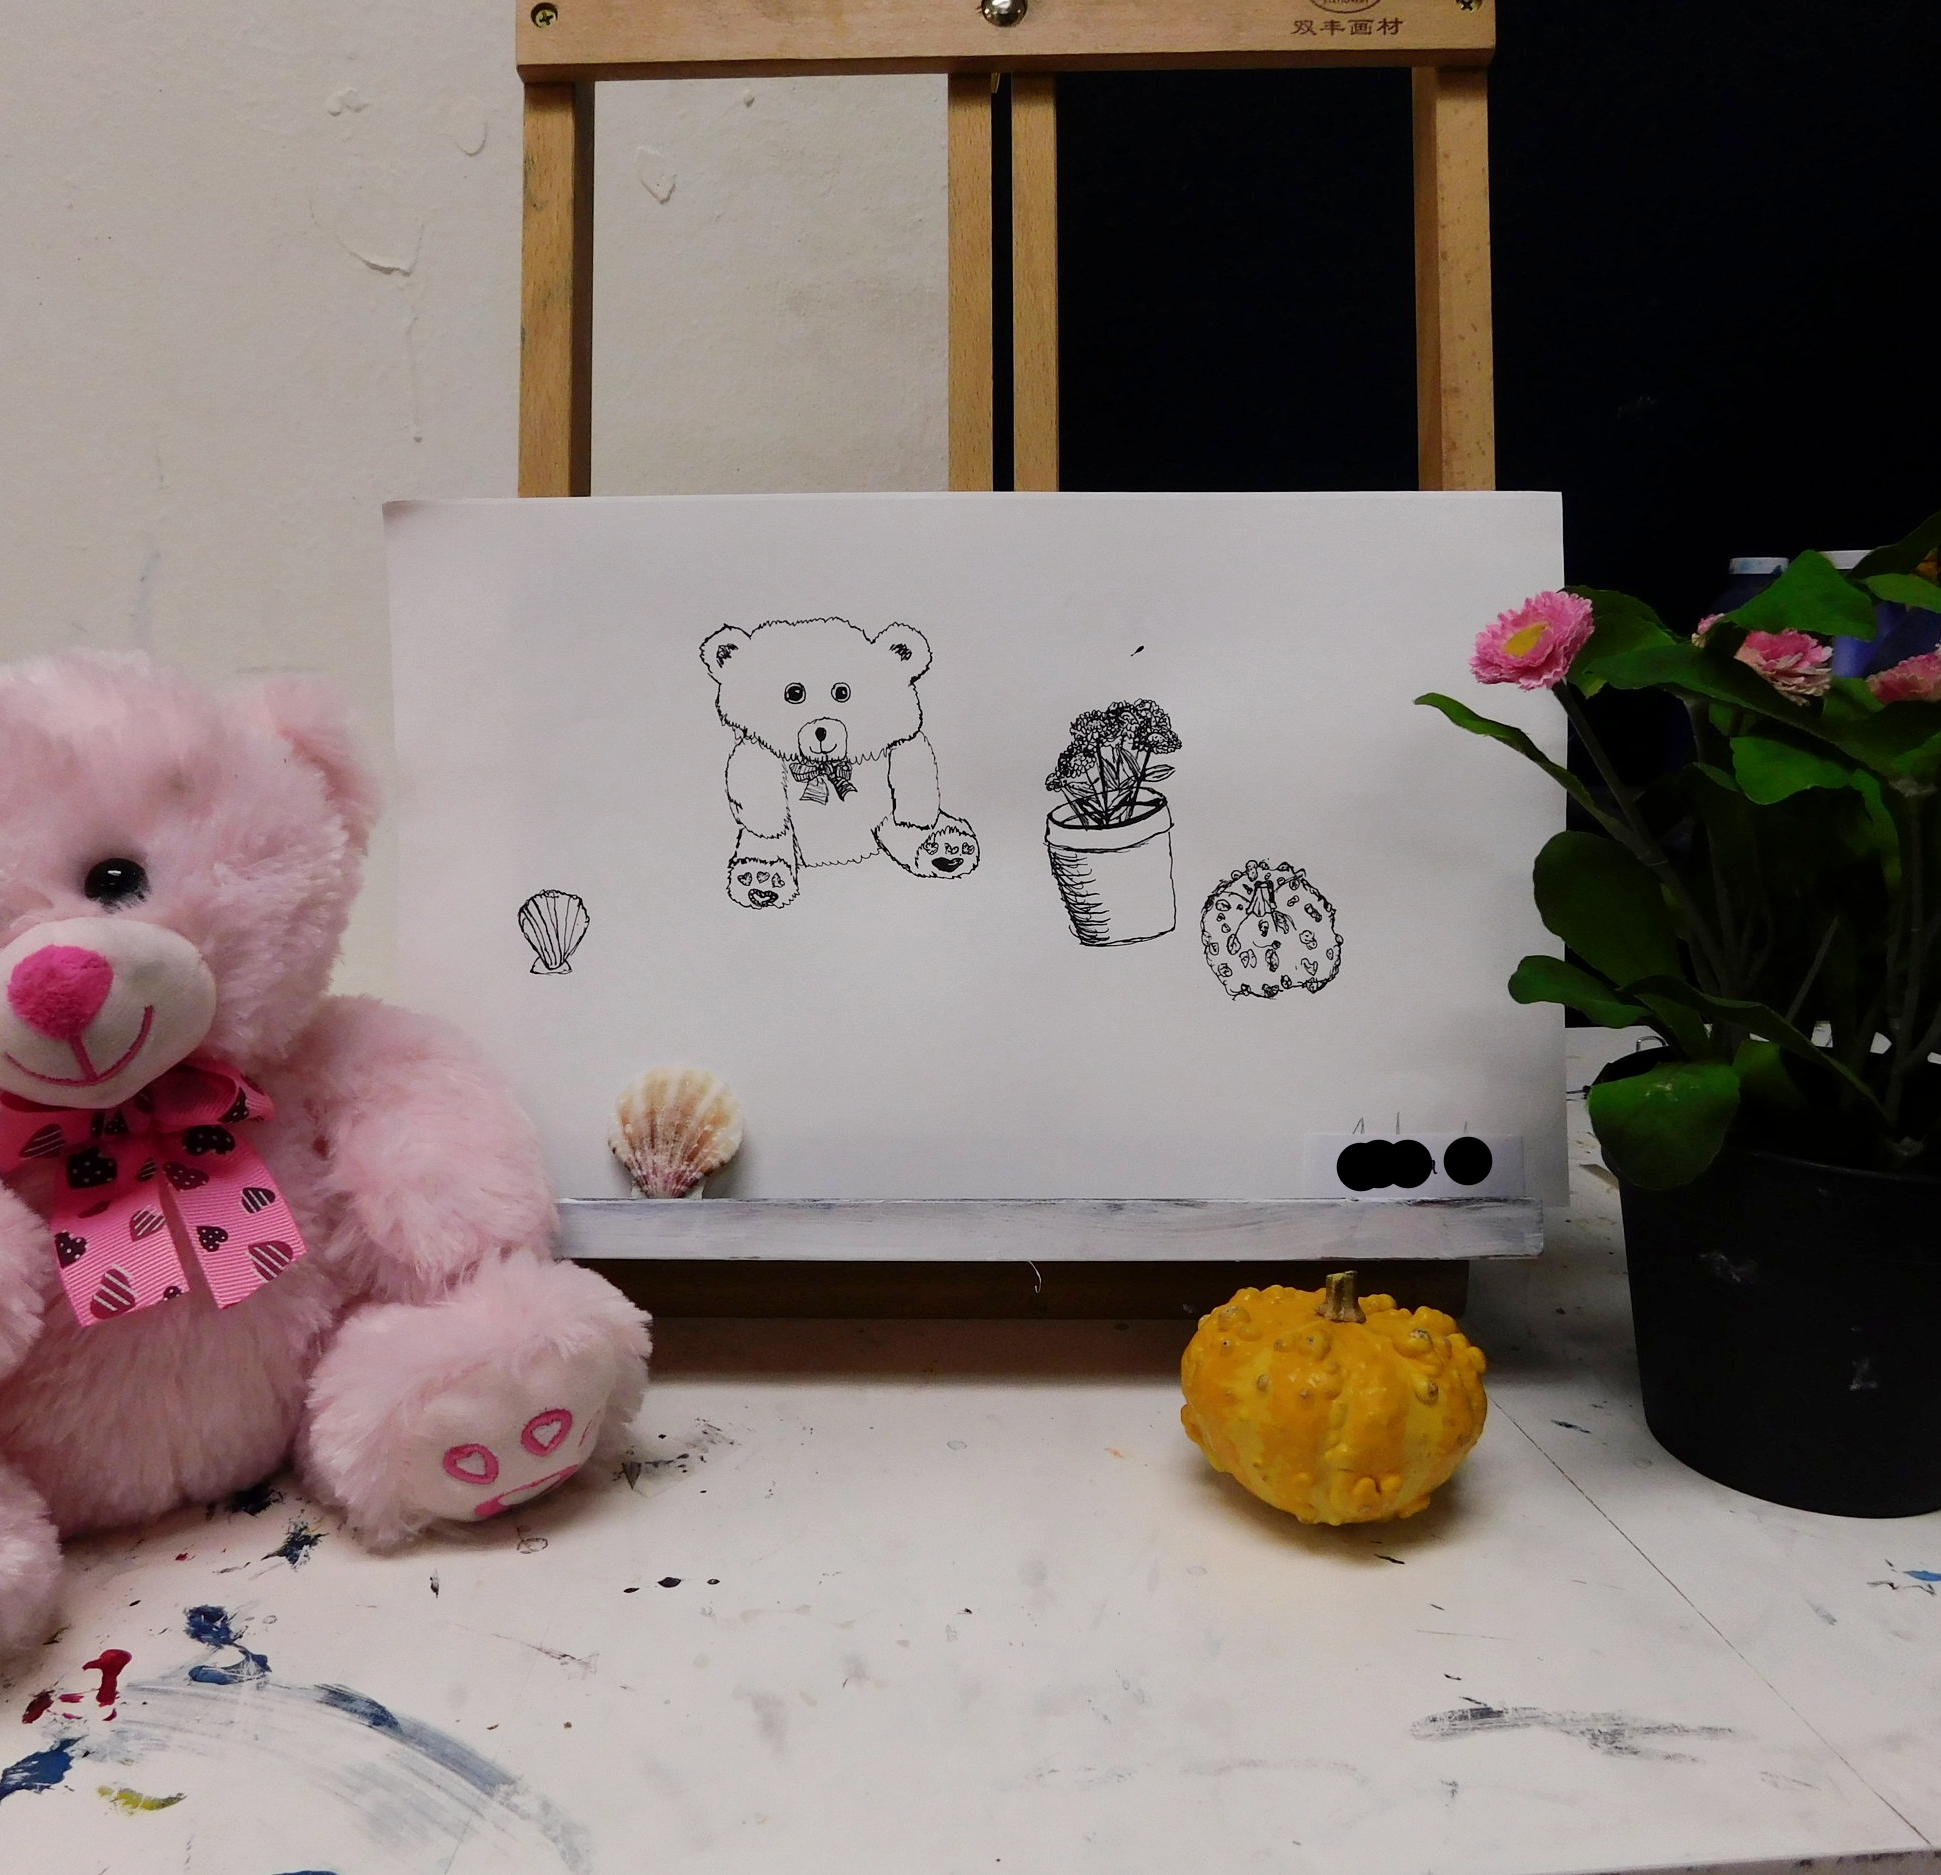
Just this past week, introduced the pen and ink to our kids. After our kids finished their imposto paintings, we had our kids choose objects again, but this time we were doing still lives with pen and ink. After the students became familiar with the actual pen, our teacher introduced the different techniques that would help our students when depicting textures with the pen. The kid experimented with squiggly lines, cross hatching, circular motions, etc, to add the texture that they observed from the objects.